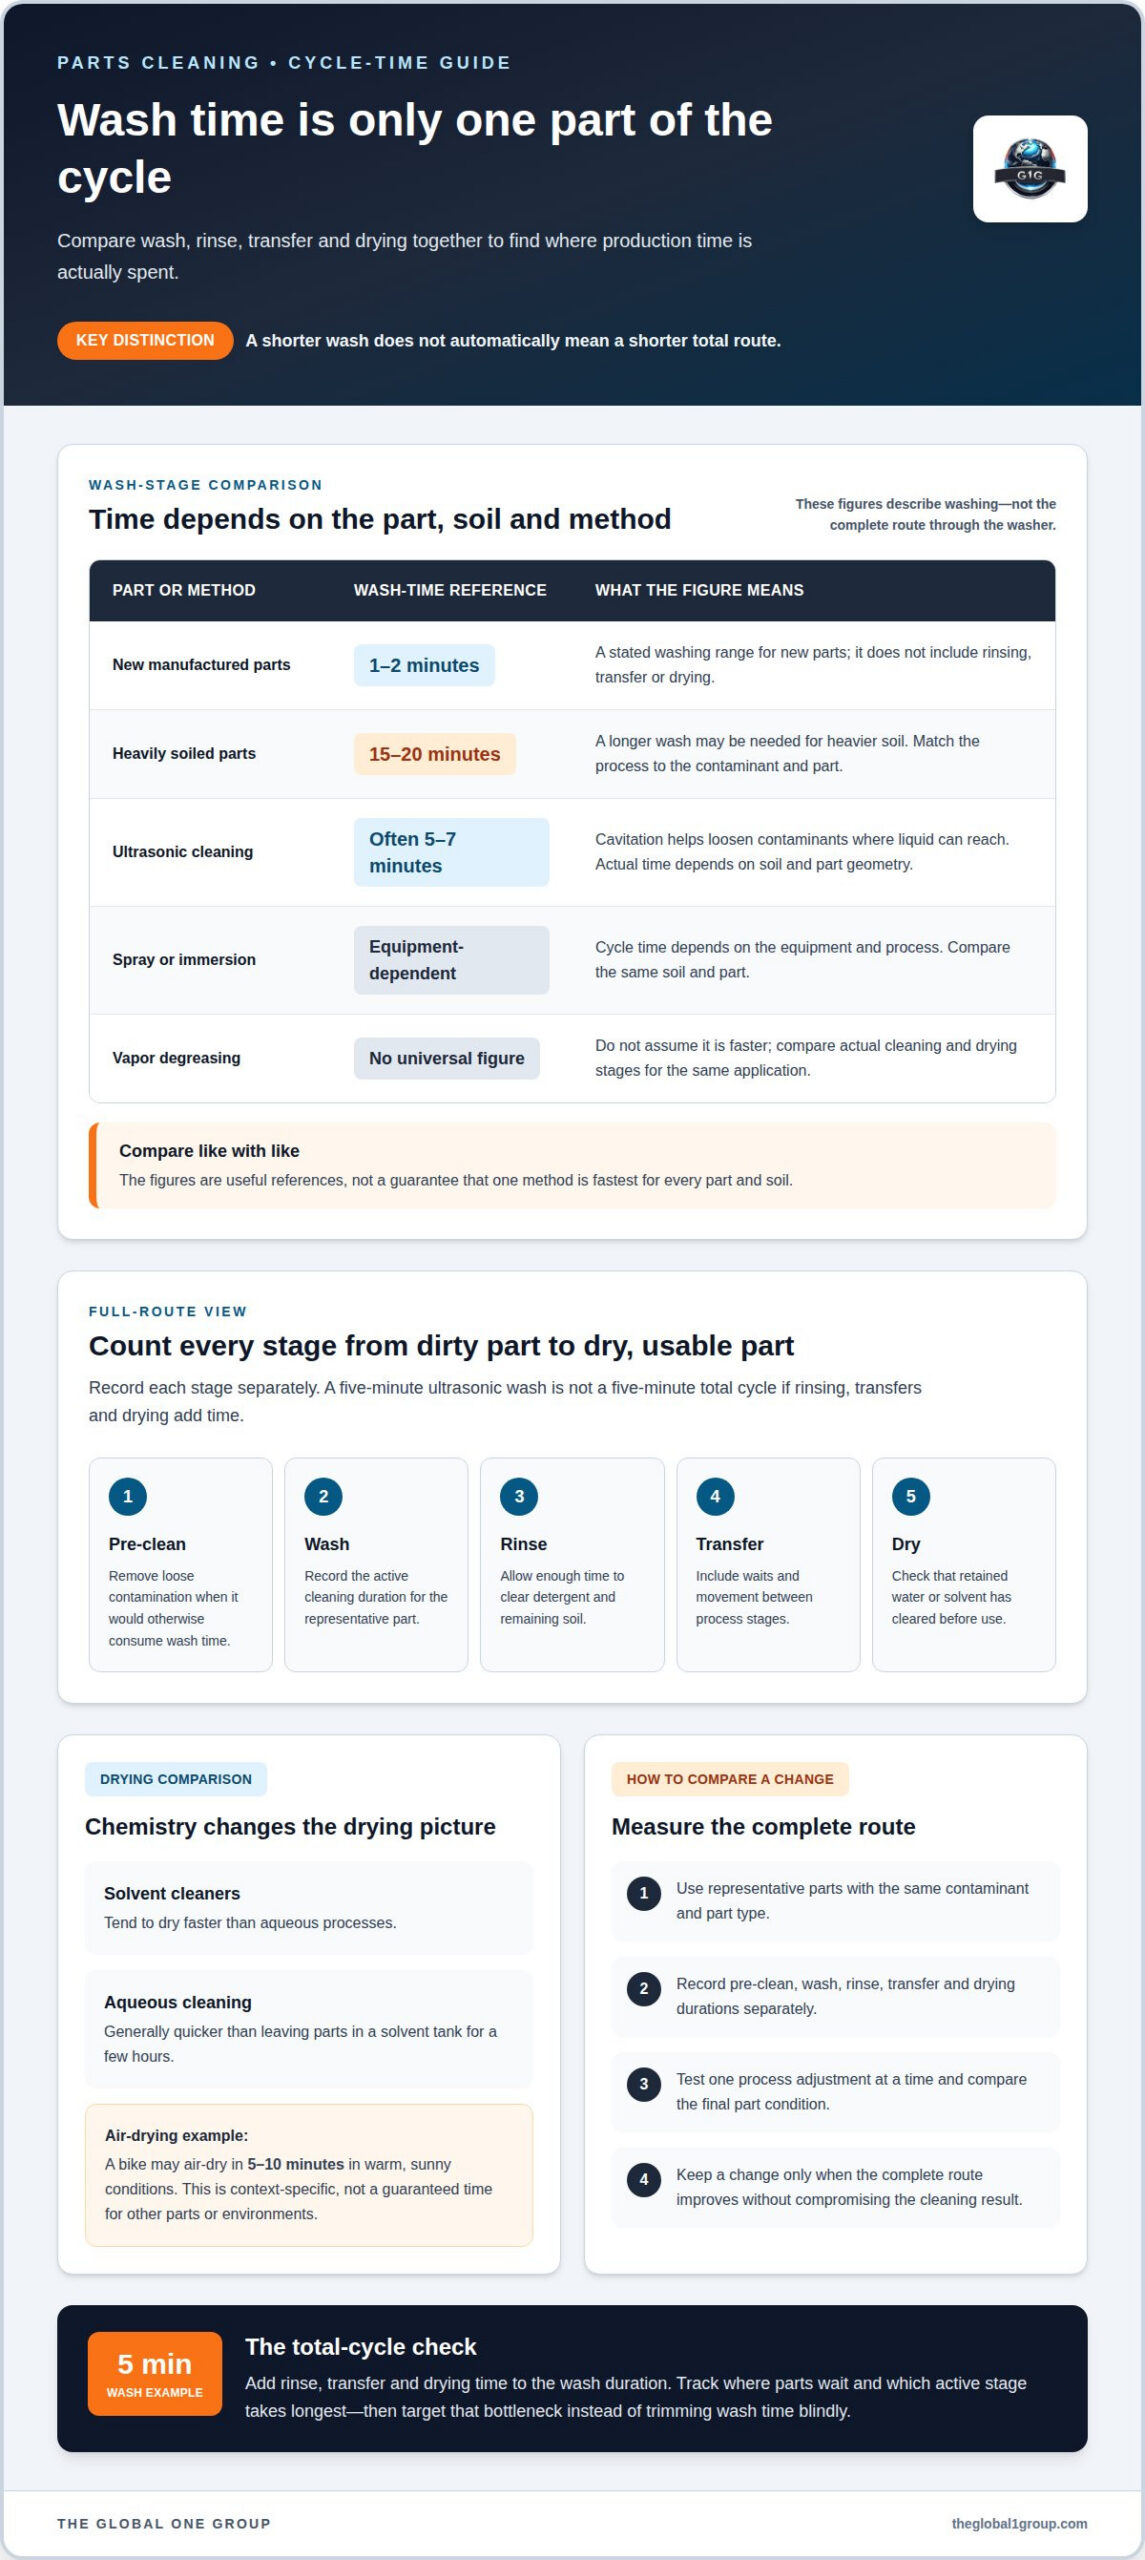
A longer wash cycle isn’t always the fix. To understand how to reduce parts cleaning cycle time, balance time, mechanical action, cleaning chemistry and temperature rather than simply extending the wash. Typical wash cycles range from 1-2 minutes for new manufactured parts to 15-20 minutes for heavily soiled parts, while ultrasonic cleaning can often take five to seven minutes.
Cycle time matters because every extra minute can hold up parts and tie up production capacity. But cutting time without matching the process to the soil and part can leave contamination behind. The key is to improve cleaning action and solution performance so parts reach the required cleanliness without unnecessary dwell time.
This guide explains how to assess the TACT variables in water-based parts cleaning and adjust cleaning chemistry, concentration, temperature, ultrasonic cavitation and drying. You’ll also see how part loading and rinse time affect the full cycle, so you can target the bottleneck instead of trimming time blindly.
Key Takeaways
- Use ultrasonic cavitation to reach liquid-accessible surfaces, and avoid adding a soak stage when it doesn’t improve the cleaning process.
- Match the cleaner and its concentration to the contaminant and part material; replace saturated solution instead of adding more soap.
- Adjust solution temperature within the cleaner’s operating range, then weigh any cycle-time gains against higher operating costs.
- Keep parts separated and positioned for effective mechanical action so they don’t block one another from the wash.
- Account for drying and rinsing as part of the full cycle, not just the time parts spend in the wash stage.
Ultrasonic cavitation for removing contaminants
Ultrasonic cavitation adds cleaning action throughout the liquid, helping remove contaminants from surfaces the solution can reach. Control loading, floating oil and rinse time to cut avoidable delays.
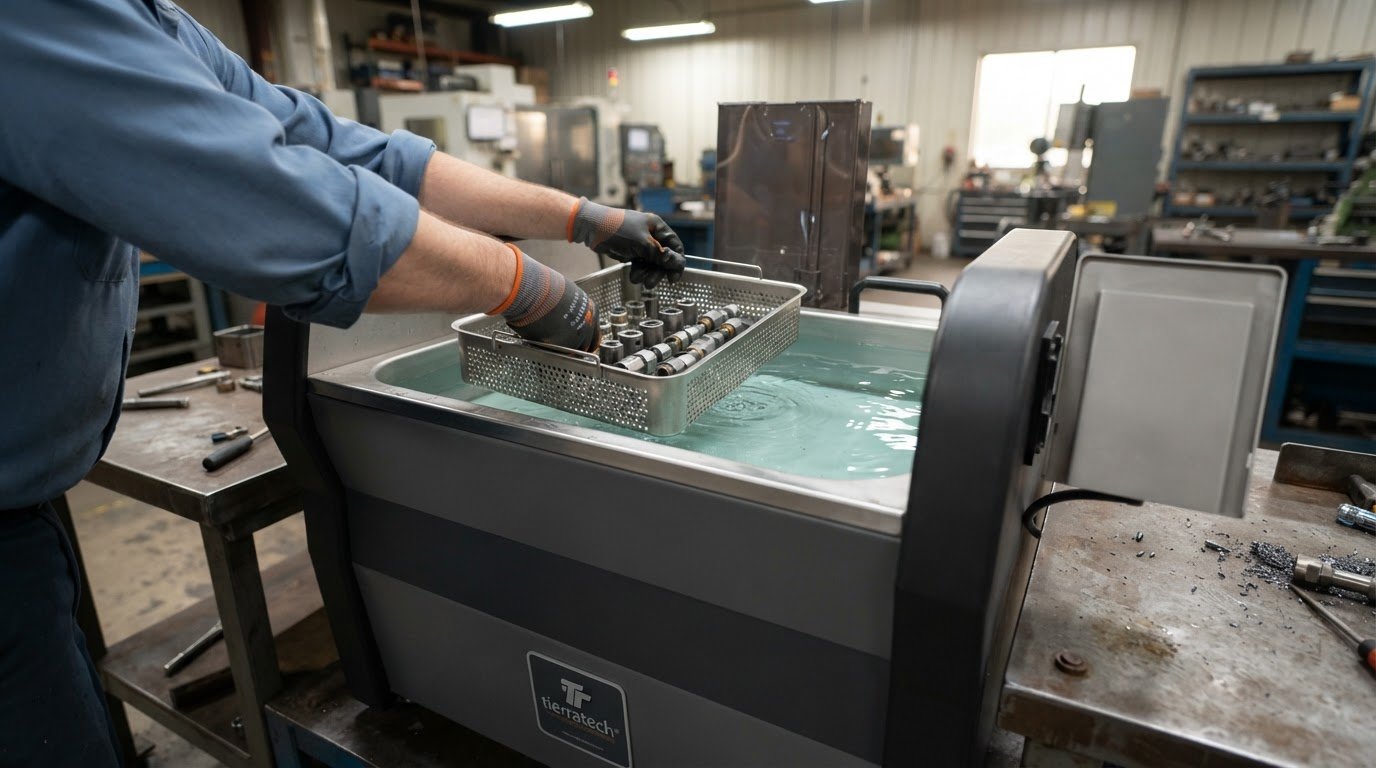
- Load parts with space between them. Keep components from touching or overlapping, and arrange them so cleaning solution reaches each surface. For parts with cavities, orient them to prevent wash solution from pooling. This can help the cleaning solution reach parts more evenly and limit carryover into the rinse stage. Crowded baskets can shield surfaces, forcing another wash or manual rework.
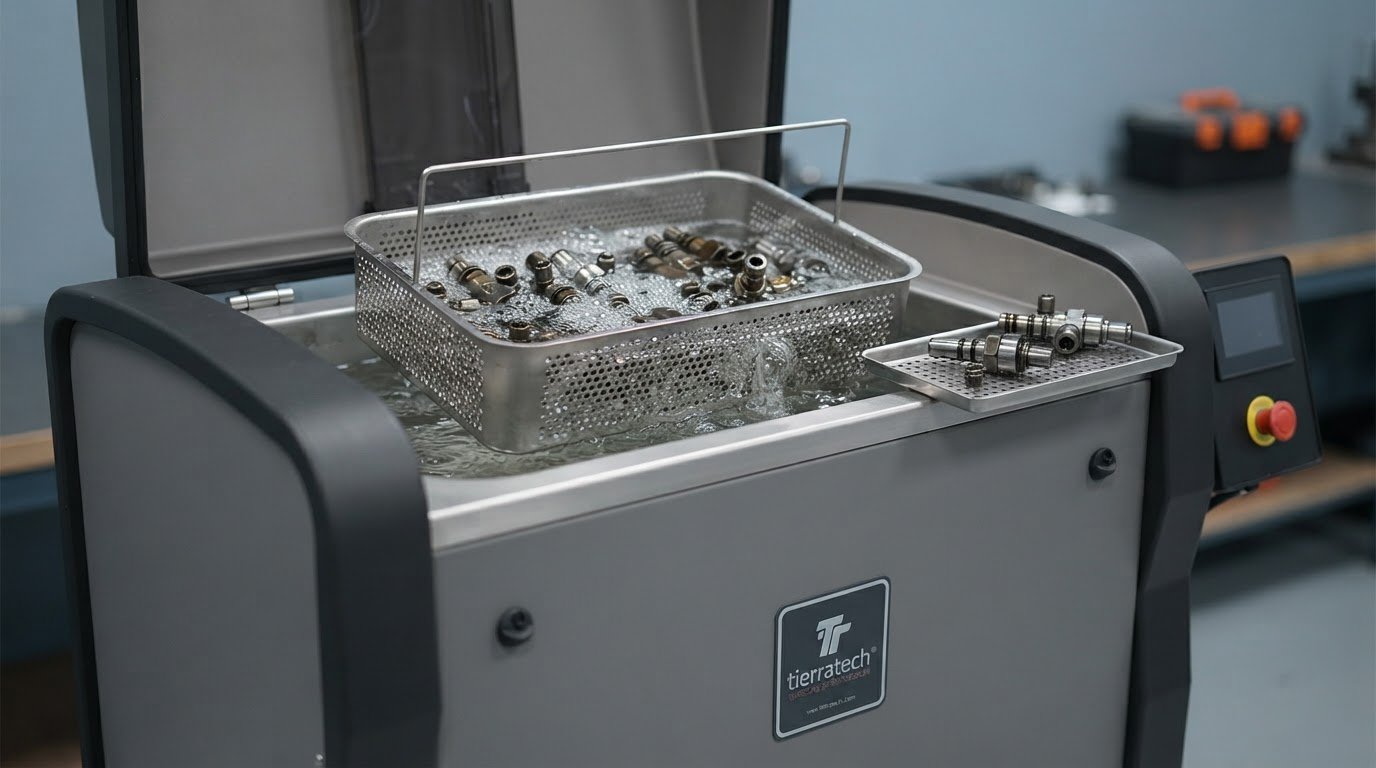
- Use cavitation to target accessible surfaces. Ultrasonic waves create microscopic bubbles at the item’s surface; their action helps loosen contaminants wherever liquid can reach. This can reduce the need to disassemble parts for cleaning. Because cavitation provides cleaning action in an immersion system, soaking parts beforehand generally adds time without helping the ultrasonic process.
- Remove floating oil from the wash tank. Skim it from the liquid surface before it enters the pump flow, where it could return to cleaned parts. Removing floating oil also helps extend cleaning-chemical life. Treat skimming as a process-control step: oil left in the tank can undermine a shortened wash cycle by recontaminating surfaces.
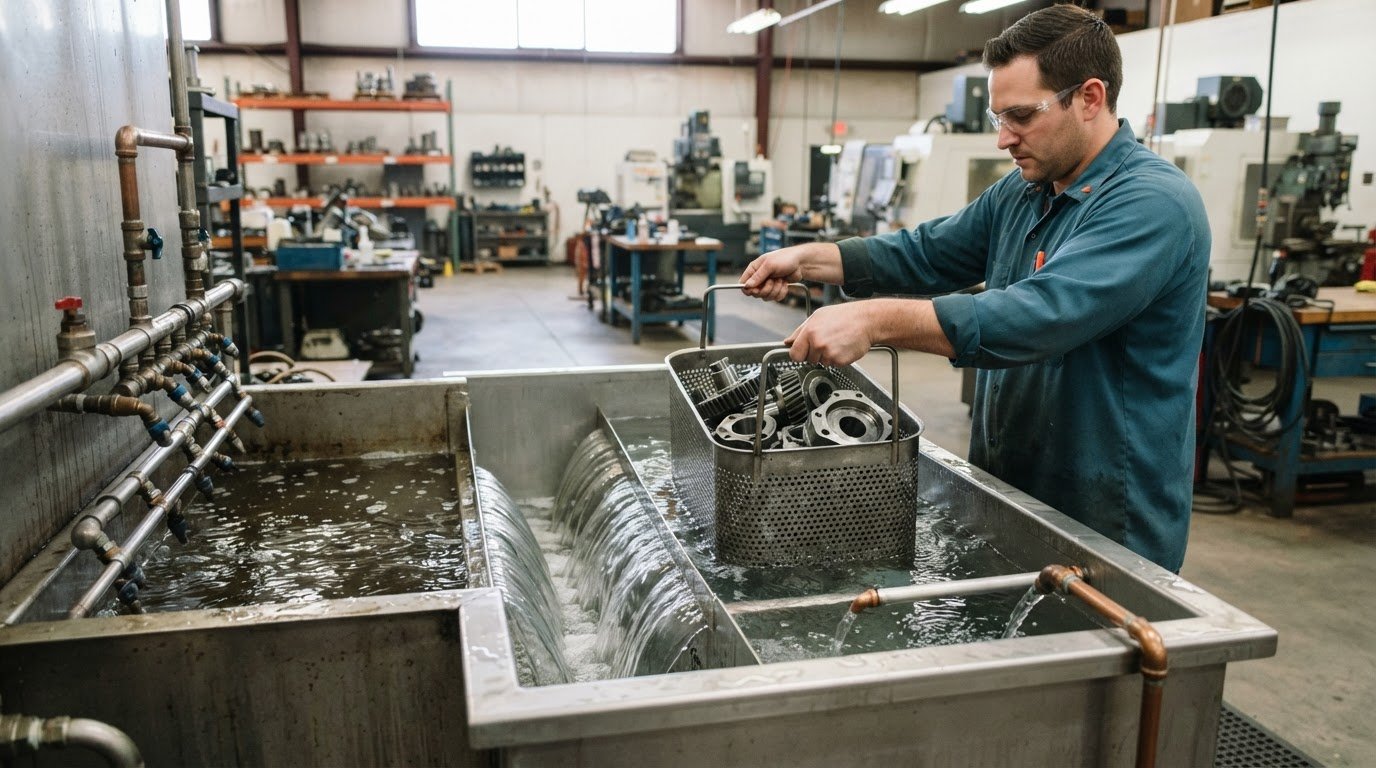
- Give the rinse stage enough time to clear detergent and remaining soil. A shortened rinse can leave residue on parts, even when the wash step removes visible contamination. Set rinse duration according to the soil load and the detergent carried forward from washing. Check that parts leave the rinse without visible residue. Don’t cut this stage solely to shorten the total cycle.
-
Validate shorter cleaning cycles
Reduce cycle time in controlled steps, then compare cleaned parts with the applicable cleanliness acceptance criteria. Use the same inspection method and representative parts for each trial, including areas reached by ultrasonic action. Record remaining soil and detergent residue. Keep the shorter setting only when parts continue to meet the required standard across the load.
-
Assess cycle-time gains and risks
Track total processing time and rework as you adjust the cycle. Savings depend on the starting process, contaminant load, part geometry and how effectively cavitation reaches surfaces. Cutting time too far can leave soil or detergent residue, leading to another wash or rejected parts. Base decisions on verified cleanliness and throughput, not wash duration alone.
Cleaning and drying time differences
Ultrasonic cleaning often takes five to seven minutes, but no method is fastest for every part and soil. Reduce total time by treating pre-cleaning, washing, rinsing and drying as separate stages.
-
Compare cleaning and drying times
Record wash, rinse and drying durations separately for each representative part. New manufactured parts may need 1-2 minutes of washing, while heavily soiled parts may need 15-20 minutes. Those figures describe the wash stage, not the complete route through the washer. Include transfer and drying time in your comparison, or a shorter wash may not shorten production turnaround.
-
Compare parts cleaning methods
Choose a method by matching its cleaning action to the contaminant and part geometry. Ultrasonic parts cleaning can often take five to seven minutes; spray and immersion cycle times depend on the equipment and process. Vapor degreasing has no universal cycle-time figure here, so don’t assume it is faster than the alternatives. Compare actual cleaning and drying stages for the same soil and part.
-
Use pre-cleaning and drying steps
Remove loose contamination before washing when it would otherwise consume wash time. Reducing rust and coolant before the main cleaning process can save time and resources. Then plan drying around the cleaning chemistry: solvent cleaners tend to dry faster than aqueous processes, while aqueous cleaning is generally quicker than leaving parts in a solvent tank for a few hours. Count both stages.
- Map the full route from dirty part to dry, usable part. Write down each stage, including any pre-clean, wash, rinse, transfer and drying step. For example, a five-minute ultrasonic wash isn’t a five-minute total cycle if rinsing and drying add substantial time. Use the stage record to find where parts wait and which active processing stage takes longest.
- Test one process adjustment at a time on representative parts. Compare the same contaminant and part type, then record wash and dry durations alongside the final condition. For an aqueous process, check that drying removes retained water; for solvent cleaning, include its faster drying tendency in the total-time comparison. Keep the change only when the complete route improves without compromising the cleaning result.
For parts that can be air-dried, record the conditions alongside the drying duration so comparisons remain useful. A bike may air-dry in 5-10 minutes in warm, sunny conditions. Treat that as a context-specific example, not a guaranteed drying time for other parts or environments. Note whether the part is still damp in recesses or at contact points, and include any additional handling needed before it is ready for use. This helps distinguish a short wait from a completed drying stage when reviewing the full route.
Cleaning chemical selection and concentration
Match cleaner chemistry and concentration to the soil and component material. A mismatch can extend washing or damage parts.
- Identify the contaminant before selecting chemicals. Oil, coolant, grease and particulate soil don’t respond identically to every cleaner. Define the residue that must come off, then choose a chemistry suited to that soil and the component material. A cleaner that tackles the soil but harms the substrate creates rework instead of a faster, controlled process.
- Check compatibility with the parts being washed. Consider the component’s material and finish alongside the contaminant, because cleaning strength alone doesn’t determine suitability. A chemistry that removes oil quickly may still be a poor choice if it affects the part. Set the process around both requirements: remove the target soil while preserving the component.
- Measure cleaner concentration rather than estimating it. Titration can measure the concentration of cleaner in a washer and show whether the solution remains within its working range. Use the result to guide replenishment decisions. An overly weak solution may struggle with the soil load, while adding cleaner without measurement can waste chemical and disrupt process control.
- Track pH alongside concentration. A pH drop may indicate that the cleaning solution needs changing. Treat that signal as a reason to assess the bath, rather than assuming that adding fresh cleaner will restore performance. Pair pH observations with titration results and the condition of cleaned parts to make consistent decisions about changes.
- Replace saturated solution instead of adding more soap. Once the solution reaches saturation, additional soap won’t improve cleaning. Continued dosing can increase chemical use without restoring the bath’s ability to remove contaminants. Use cleaning results and concentration checks to identify when replacement is needed, then return the washer to a controlled solution condition.
- Use a chemical dosing system to maintain the cleaner-to-water ratio during replenishment. Set replenishment around the intended concentration, then measure the bath rather than relying only on the amount added. This keeps the ratio controlled as the solution is renewed and helps avoid swings that can undermine cleaning consistency.
- Link chemistry checks to cycle performance. If parts need extra wash time, assess the contaminant, concentration and solution condition before extending the cycle. A pH drop or a titration result showing depleted cleaner may point to a bath issue. Correcting the chemistry can address the cause instead of masking it with longer washing.
- Keep a repeatable record for each cleaning setup. Note the target soil, component material, titration result, pH trend and replenishment action. Compare those observations with the cleaning result after each change. This gives operators a practical basis for maintaining the selected chemistry and concentration, and for spotting when a bath change is more effective than extra detergent.
Effect of solution temperature on cleaning efficacy
Raise the wash temperature within the cleaner’s operating range, then assess cleaning results and cycle duration. Higher temperatures can improve cleaning efficacy and shorten washing, but may also increase operating costs.
- Start with the cleaner’s maximum operating temperature. Treat that limit as the upper boundary for the process, not a target to exceed. Raising water temperature can improve cleaning efficacy until the solution reaches its maximum operating temperature. A setting beyond that point won’t deliver the improvement described for the operating range.
- Change temperature in controlled increments and track the result. Keep the part type, contaminant and other wash conditions consistent during each comparison. Record the temperature setting, wash duration and cleaning outcome. This shows whether heat improves removal or whether another process variable, such as mechanical action, needs attention.
- Compare complete wash performance, not temperature alone. A warmer solution may reduce cleaning time, but the useful setting depends on the soil and the cleaner’s operating range. Check the surface after washing and compare it with the required cleanliness criteria. Don’t accept a shorter wash if the part still carries contamination.
- Assess operating cost alongside cycle duration. Higher operating temperatures can reduce cleaning time, though they may increase operating costs. Compare the time saved with the energy required to reach and maintain the selected temperature. Use actual process records rather than assuming the warmest setting delivers the best overall operating result.
- Allow the solution to reach its selected temperature before evaluating cycle changes. A cycle started with a cooler bath does not provide the same conditions as one run at the intended setpoint. Track the temperature through the wash and consider how consistency affects comparisons between batches.
- Keep temperature changes separate from concentration changes during a trial. If operators raise heat and alter chemical concentration together, the cleaning result won’t show which adjustment made the difference. Compare one process change at a time, then retain the combination that meets cleaning requirements with an efficient wash duration.
- Review temperature settings when soil loads or part types change. A setting that suits one contaminant may not produce the same result on another surface or component. Record the part and soil alongside the temperature and wash outcome, so operators can apply the relevant process rather than raising heat across every load.
- Use temperature as one process lever, not a substitute for process control. If warmer water shortens a cycle, verify that parts still meet the required cleanliness standard and include the added operating cost in the decision. Keep the setting within the cleaner’s maximum operating temperature and document the result for repeatable production runs.
TACT variables in water-based parts cleaning
Reduce washing time by tuning TACT as one connected process: time, action, chemical concentration and temperature. A change to one variable can affect what the others must deliver.
- Set wash time according to the soil and required cleanliness. To determine how to reduce parts cleaning cycle time, compare the cleaning result at the current setting with a controlled shorter trial. Parts need enough exposure for soil removal, but extra time won’t correct weak mechanical action or unsuitable chemistry. Keep a shorter setting only when parts meet the required cleanliness criteria.
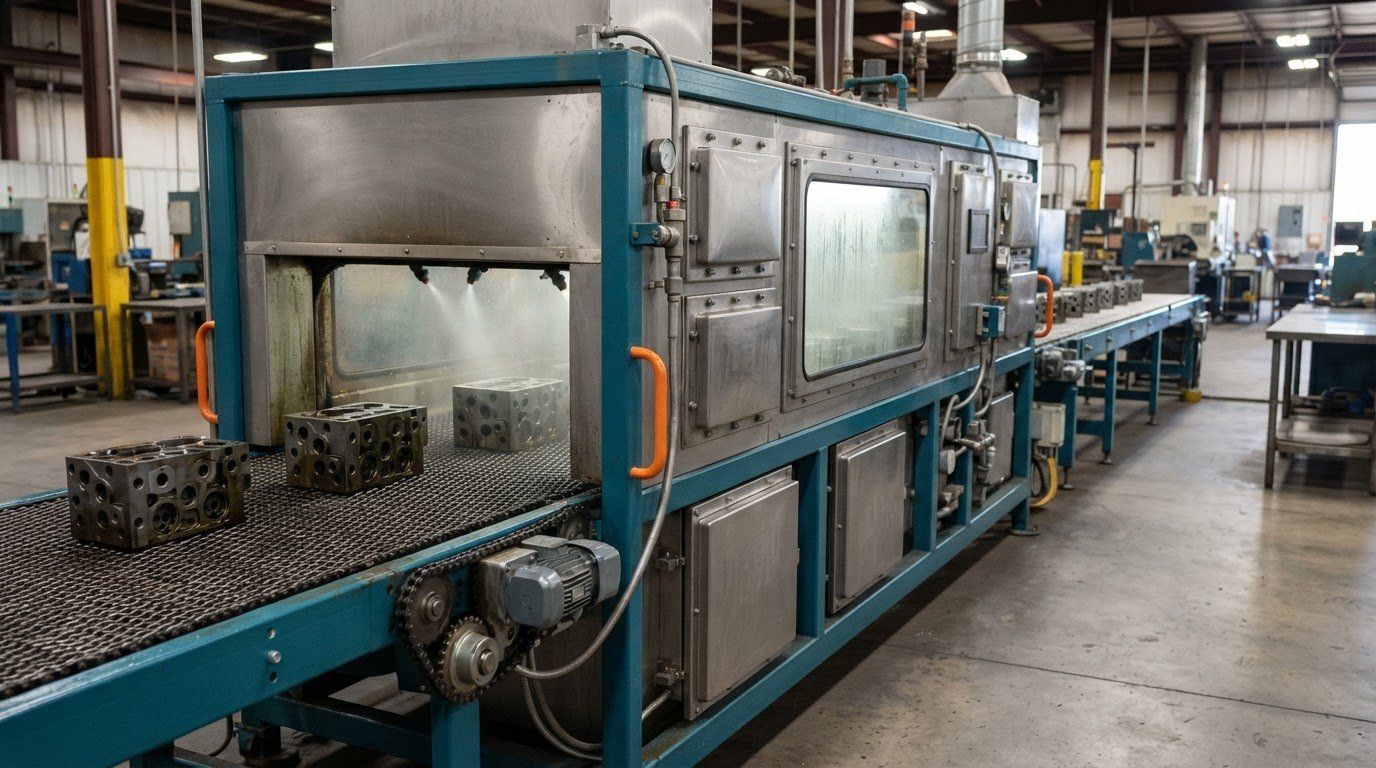
- Improve action before extending the clock. High-pressure, high-volume spray provides mechanical force that can remove surface contaminants and reduce cleaning time. Position parts close to, and in line with, high-impact nozzles. Poor alignment weakens the force reaching the surface, so a longer wash may simply extend an ineffective setup.
- Arrange the load to preserve spray access. Parts shouldn’t touch or overlap, because contact can shield surfaces from cleaning action. For example, overlapping components can block spray from reaching a contact area. Adjust spacing and orientation so the wash reaches target surfaces across the load, not just the exposed outer faces.
- Match chemical concentration to the soil and part material. A suitable concentration supports cleaning action without relying on extra wash time. Check concentration as part of process control, then assess the result. If soil remains, determine whether chemistry or spray action limits performance before lengthening the cycle.
- Raise temperature only within the cleaning solution’s operating range. Higher temperature can improve cleaning efficacy and shorten duration, but may increase operating costs. Evaluate temperature with concentration and action held steady. This comparison shows whether heat contributes to the result, rather than disguising poor nozzle alignment or an unsuitable chemical balance.
- Consider TACT together when a process change stalls. To assess how to reduce parts cleaning cycle time, identify the limiting variable: insufficient exposure, weak impingement, unsuitable concentration or low temperature. Correct the bottleneck, then test the revised process against the same part and cleanliness criteria. Avoid changing every setting at once, which obscures the cause of improvement.
- Account for US requirements while adjusting process conditions. OSHA, EPA and applicable industry requirements relate to a facility’s operation, chemicals, equipment and waste streams. TACT settings don’t establish compliance. Include workplace safety and environmental controls in process changes, and don’t treat faster washing as a reason to bypass them.
- Turn the best-performing combination into a repeatable washer setup. Record the part arrangement, wash duration, spray position, concentration and temperature alongside the cleaning outcome. Apply those conditions to comparable loads, then reassess when soil or components change. For help aligning parts-washing chemistry and equipment with your process, take the next step.
The Global One Group
The Global One Group offers industrial parts washers and specialized parts washing chemistries to address cleaning-process needs. Turn to the team when cycle-time adjustments point to a need to review the washer setup and cleaning chemistry together.
Share the contaminants, part materials and current process conditions that shape your cleaning cycle. That context helps focus the discussion on factors affecting wash performance, from chemistry selection to equipment needs. The Global One Group also offers replacement parts for Magido and Fountain washers.
For practical guidance on your parts-washing process, contact The Global One Group.
Make the Next Cycle Your Baseline
Your next step in deciding how to reduce parts cleaning cycle time is to turn the best-performing process into a repeatable production standard. Define the conditions operators should follow, then track cleaning results and throughput as the process runs across shifts. That gives your team a practical baseline for spotting drift before it leads to rework or delays.
If process trials point to an equipment need, The Global One Group supplies heavy-duty industrial parts washers. A discussion about your parts, soil and current workflow can focus the next decision on the constraints affecting your operation, rather than cycle time alone.
Build the next improvement around the demands of your parts and production line. Contact The Global One Group to discuss your parts-washing needs and move toward a process that supports dependable output.
Frequently Asked Questions
How Long Does the Parts Cleaning Process Take?
Wash time depends on the part and soil: new manufactured parts may take 1-2 minutes, while heavily soiled parts may need 15-20 minutes. Ultrasonic cleaning can often take five to seven minutes. These are wash-stage examples, not a complete turnaround estimate. Include rinsing, handling and drying when planning when a component will return to production.
What factors determine parts cleaning cycle time?
Cycle time depends on the contaminant, its amount, part geometry, cleaning method and process conditions. A batch of lightly soiled, exposed components can move through differently from parts with recesses or stubborn deposits. Load size and arrangement also matter: blocked surfaces may receive less cleaning action. Consider the entire route, including rinsing and drying, when identifying the step that limits throughput.
How can you reduce parts cleaning time without compromising cleanliness?
Shorten the cycle through controlled trials, not by cutting wash time across every load. Select representative parts, change one process condition, and compare the result with the applicable cleanliness criteria. For example, adjust how parts sit in the basket before changing wash duration. Record any remaining soil or residue, and use the shorter setting only when cleaned parts continue to meet requirements.
How do cleaning temperature, detergent concentration, and agitation affect cycle time?
Temperature, detergent concentration and agitation work together to remove soil. Higher temperature can improve cleaning until the solution reaches its maximum operating temperature, while effective mechanical action helps lift contaminants from surfaces. Concentration must suit the soil and part material; adding detergent won’t restore a saturated solution. Evaluate one adjustment at a time, because changing several conditions together makes results harder to interpret.
Which parts cleaning methods are fastest: ultrasonic, spray, immersion, or vapor degreasing?
Ultrasonic cleaning often takes five to seven minutes. Spray and immersion times depend on the equipment and process, and there is no universal cycle-time figure for vapor degreasing, so compare the full cleaning and drying stages for the same part and soil.