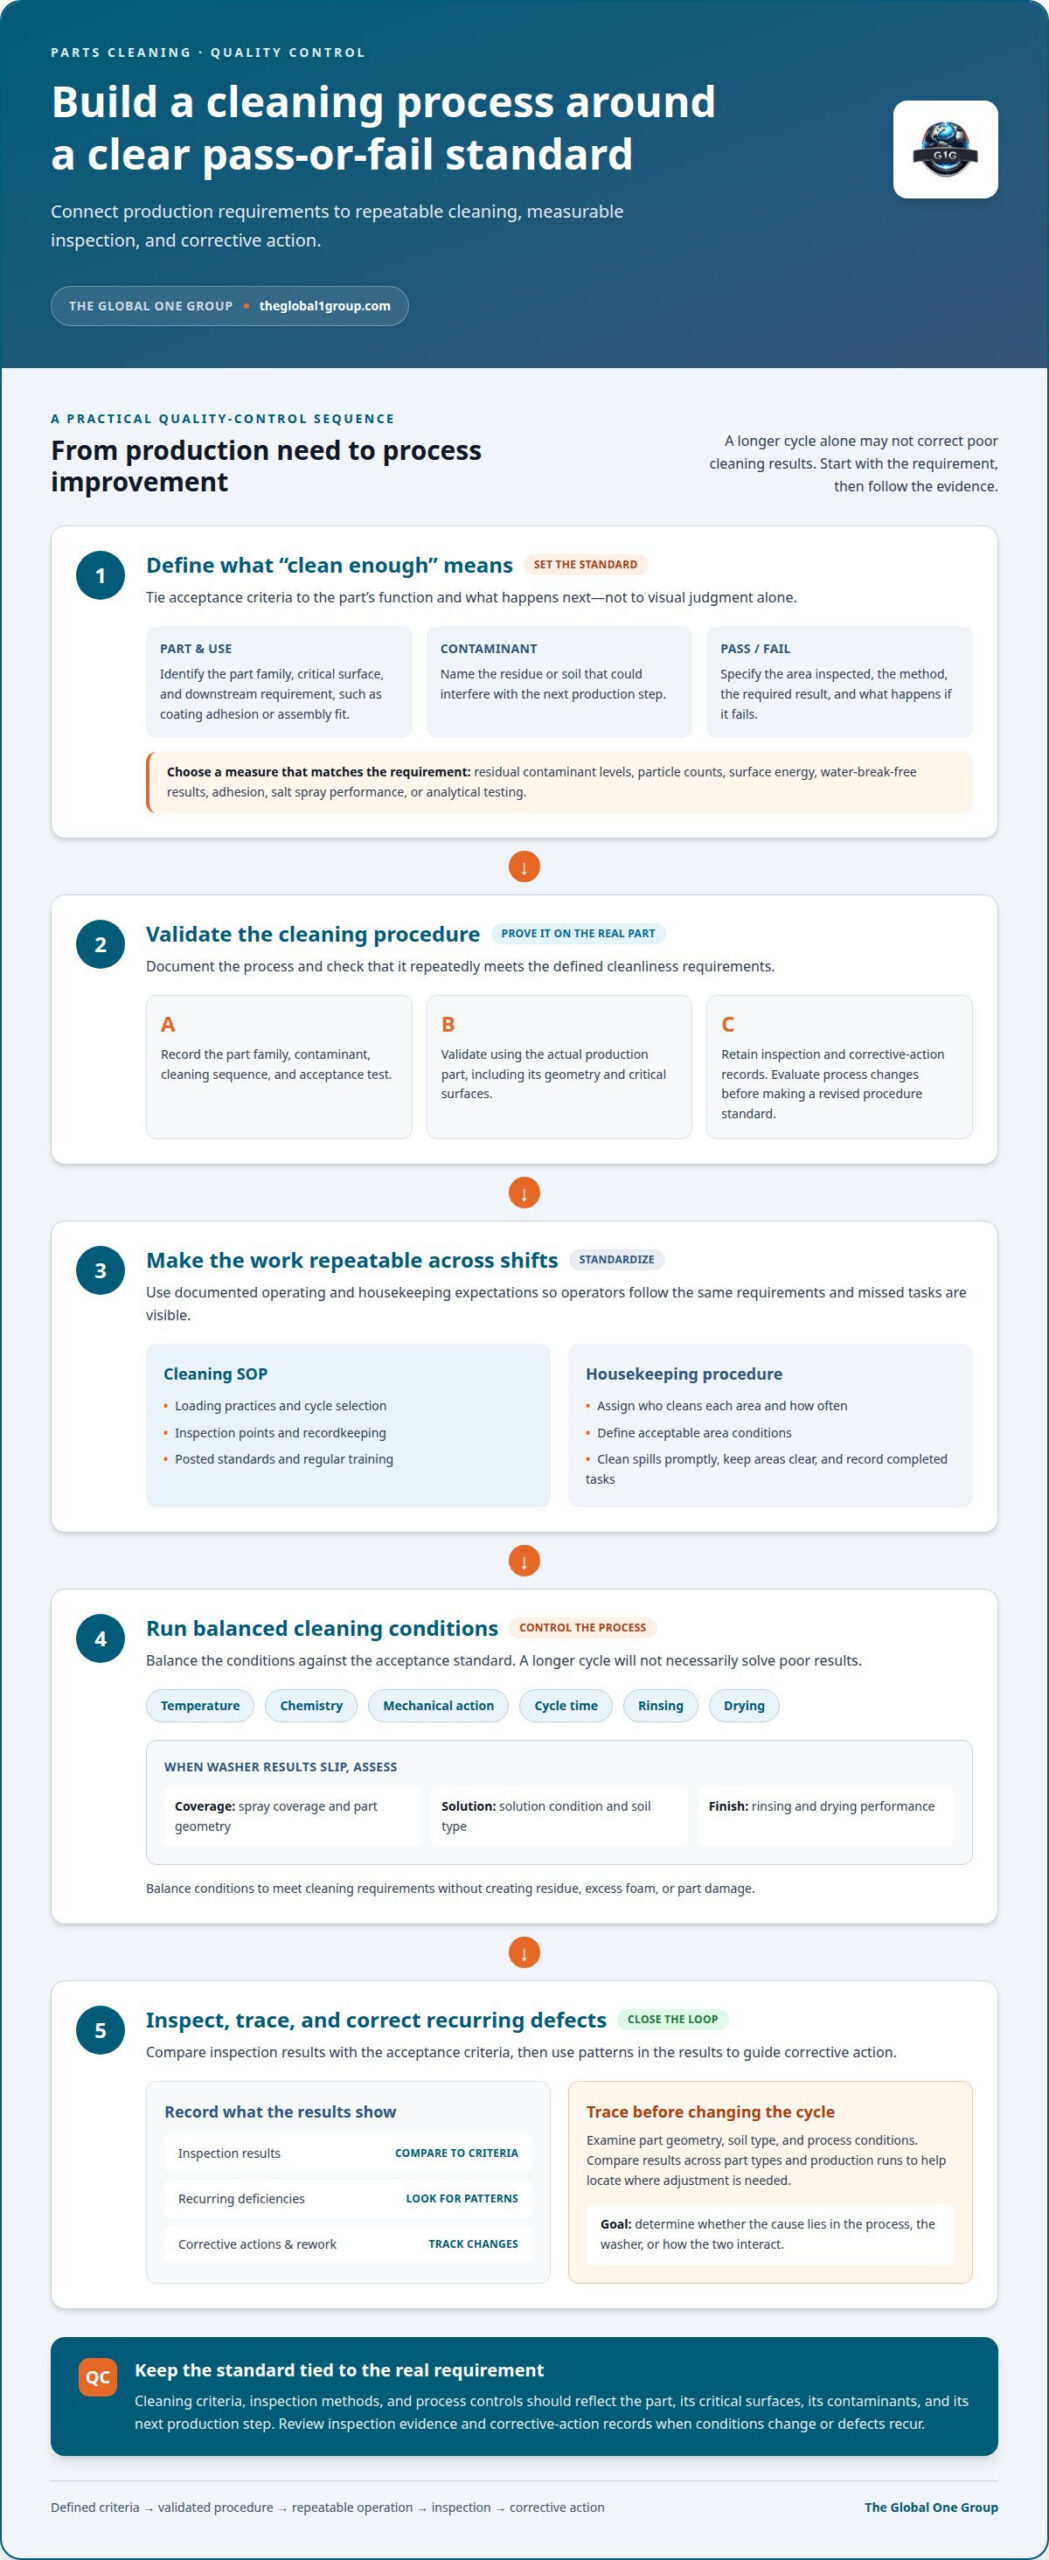
A longer wash cycle won’t rescue a cleaning process with the wrong conditions. Effective parts cleaning for quality control improvement starts with clear acceptance criteria for the part and its contaminants, then balances temperature, chemistry, mechanical action, cycle time, rinsing, and drying against those standards.
Cleanliness needs a defined pass-or-fail measure, not a vague visual judgment. The right criteria depend on what the part must do next and which residues or soils could interfere with coating, assembly, or performance.
When cleaning results vary, the cause may lie in the process, the washer, or how the two interact. This article explains how to set practical cleaning standards, build them into quality-control checks, and use inspection results to trace recurring defects to their root causes.
You’ll also learn why extending a cycle isn’t always the answer, how balanced cleaning conditions support consistent results, and what to assess when washer performance slips. The goal is a process your team can evaluate against clear requirements, correct when results fall short, and maintain with less guesswork.
Key Takeaways
- Set cleanliness criteria around the part’s function and the contaminants that could affect its next process, rather than relying on visual judgment alone.
- Track inspection results, recurring deficiencies, corrective actions, and rework to see whether quality-control changes are working.
- Trace cleaning defects to their causes by examining part geometry, soil type, and process conditions before changing the cycle.
- Improve washer consistency by managing spray coverage, solution condition, rinsing, and drying; a longer cycle alone may not solve poor results.
- Balance temperature, chemistry, and mechanical action to meet cleaning requirements without creating residue, excess foam, or part damage.
Establishing and improving quality-control processes
Reliable cleaning quality starts with documented criteria, repeatable operations, and recorded inspection results. Connect each cleaning step to the production requirement it protects, such as coating adhesion or assembly fit.
Cleaning Procedure Validation
Cleaning procedure validation documents a process and checks that it repeatedly meets defined cleanliness requirements. It matters because uncontrolled changes to parts, soils, or operating conditions can disrupt downstream production.
Document the part family, contaminant, cleaning sequence, and acceptance test in a procedure record. Validate the process using the actual production part, including its geometry and critical surfaces, then retain inspection results and corrective-action records. When the process changes, evaluate the effect on the validated result before adopting the revised procedure as standard.
Standard Operating Procedures and Housekeeping
A standard operating procedure (SOP) gives operators a consistent guide to running and recording each cleaning task. Shop-floor housekeeping procedures define who cleans each area, how often, and what acceptable conditions look like.
Specify loading practices, cycle selection, inspection points, and recordkeeping in the SOP. For housekeeping, document tasks such as promptly cleaning spills, keeping work areas clear, and recording completed tasks. Posted standards and regular training help operators follow the same expectations across shifts. Clear assignments also make missed tasks visible before debris or residues enter production.
Cleanliness Measurement and Worker Safety
Cleanliness measurement compares a part against a defined acceptance criterion rather than an undefined visual impression. Professionals can assess residual contaminant levels, particle counts, surface energy, water-break-free results, adhesion, salt spray performance, or analytical test results. The appropriate measure depends on the part and its next production step.
To validate cleanliness, manufacturers should provide part geometry, substrate, contaminant type, critical surfaces, and downstream requirements. Applicable U.S. worker-safety and environmental requirements depend on the cleaning chemistry, exposure conditions, emissions, and waste streams. Professionals consider these operating conditions when establishing cleaning procedures and controls.
Automated Washer Consistency
An automated parts washer repeats defined cleaning operations, helping reduce variation between loads and shifts. That consistency matters when production depends on predictable handoffs from cleaning to inspection, coating, or assembly.
Use production records and inspection results to assess whether the washer’s repeatable cycle meets established criteria. A stable process can reduce interruptions caused by inconsistent cleaning and avoid unnecessary manual handling between stages. If defects recur, compare results across part types and production runs. The pattern may show where the process needs adjustment before throughput suffers further.
Defining cleaning service specifications and acceptance criteria
A cleaning specification turns production needs into measurable requirements for each part family. Define the contamination of concern, the surface or feature at risk, and the test that determines whether a cleaned part passes. Parts cleaning for quality control improvement starts with criteria tied to actual production demands, not a generic cleanliness target.
Start with the next operation. A part headed for coating may need a surface condition that supports adhesion, while an assembled component may require control of particles or residual process soil. Flat exterior surfaces and recessed features may need different inspection approaches. Specify the required outcome for each critical area rather than treating every surface as equally important.
Facility standards should also describe the work itself. A useful quality-control plan records which tasks are in scope, which are outside it, how often each task occurs, how areas are defined, and what outcomes are expected. This structure helps an organization apply the same service expectations across production zones and shifts. For example, define whether a standard covers only production parts or also fixtures that contact them.
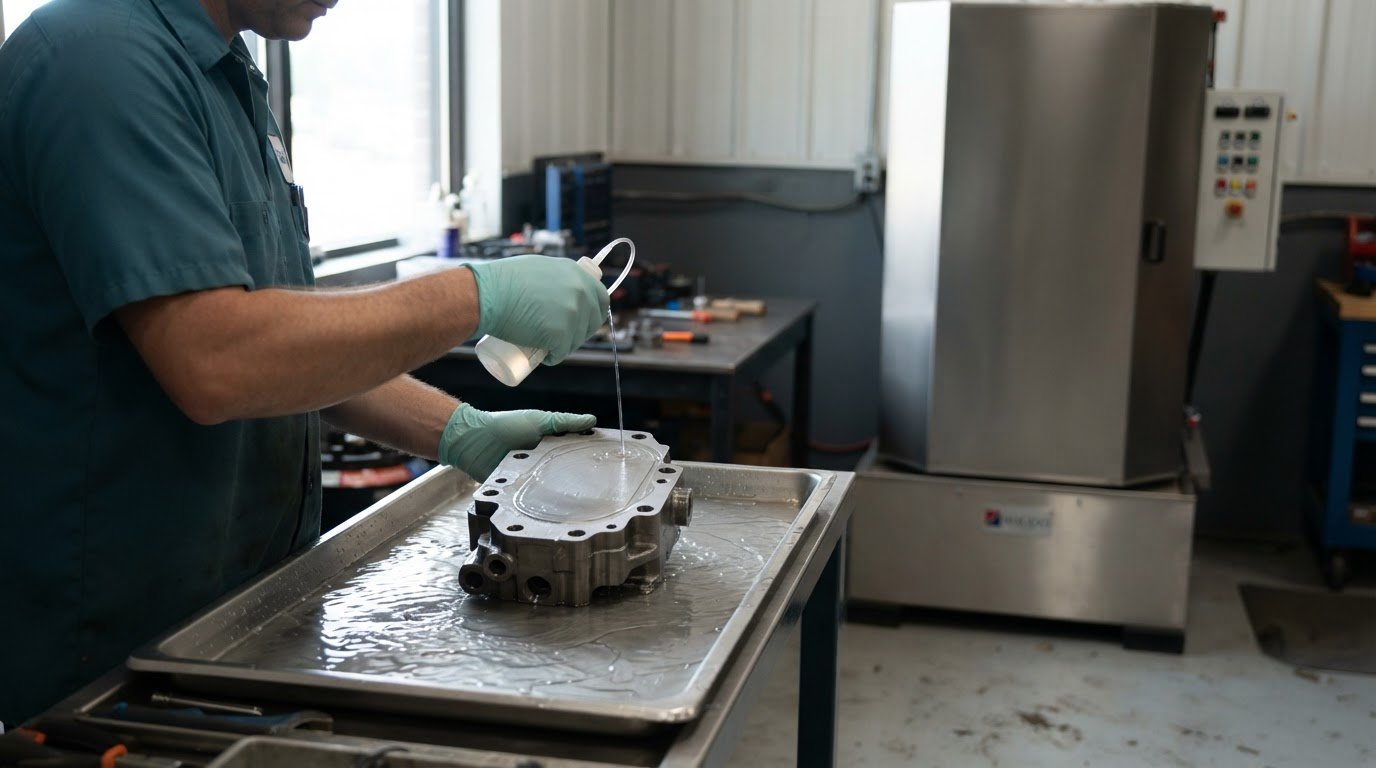
Acceptance criteria must distinguish a pass from a failure. Visual inspection can flag obvious residue, but appearance alone may not measure a contamination limit tied to a downstream process. Depending on the part and its use, criteria can specify residual contaminant levels, particle counts, surface energy, water-break-free results, adhesion results, salt spray performance, or analytical testing. Choose the measure that directly relates to the production requirement.
A scoring rubric can make inspection results easier to interpret. Define what a score of 80 means compared with a score of 95, including which defects each score permits and which require corrective action. Those values are examples of rubric levels, not universal cleanliness limits. The organization must define the conditions behind each score so inspectors apply the same standard to comparable parts.
Write each acceptance criterion in observable terms: the part or area inspected, the method used, the required result, and what happens if it fails. For example, a specification can identify a threaded feature as critical and require a stated inspection method before release to assembly. In parts cleaning for quality control improvement, clear criteria help prevent inconsistent release decisions between inspectors or shifts.
Finally, connect the cleaning specification to production records. Inspection results, deficiency logs, complaints, and corrective actions can show whether a requirement works as intended. Review recurring failures by part family or production area, then revise the criterion or process when the evidence supports a change. Clear definitions give quality teams a consistent basis for acceptance, investigation, and improvement.
Identifying opportunities and root causes
Cleaning defects often appear downstream, where coating failures, rejected assemblies, or adhesion problems reveal an earlier process gap. Manufacturing teams should connect each defect to the part family, production stage, and cleaning conditions involved. This evaluation separates a recurring process issue from an isolated handling error and directs analysis toward evidence rather than guesswork.
Start with the defect pattern. Compare inspection results, rework records, complaints, and corrective-action notes by part type and production run. If residue appears mainly in threaded holes, for example, the feature’s geometry may limit cleaning access. If defects cluster after a change in soil load or production sequence, investigate that change before altering the entire process.
Part geometry shapes the investigation. Blind spaces, holes, recesses, threads, pockets, and internal passages can retain contaminants that release more easily from flat surfaces. A clean outer face does not establish that an internal passage meets its requirement. Map reported defects to hard-to-reach features, then examine whether cleaning coverage and inspection methods address those locations.
Residue after cleaning can also point to rinsing or drying problems. Residual detergent, spotting, or retained moisture may interfere with later production steps if these conditions are not controlled. For example, spotting that appears after a rinse stage suggests a different line of inquiry than soil left inside a pocket. Track where the defect appears and when it becomes visible.
Use a structured improvement cycle: identify the opportunity, define the objective, gather and sort data, determine likely root causes, implement a suitable change, and monitor results. Where practical, change one relevant condition at a time, such as loading orientation or the sequence used for a specific part family. Then compare the next inspection results with the earlier pattern.
Keep the response tied to measured outcomes. A change helps only if it reduces the targeted defect without causing another failure, such as new residue or increased rework. Review defect frequency, corrective-action records, and production feedback together. Quality improvement teams can use this analysis to decide which controls to maintain and where further evaluation is needed.
Act on recurring issues early. Poor quality can account for 30 to 40 percent of total product costs, including the impact of scrap, rework, repair, and defects that reach customers. That figure reinforces the value of tracing failures to their source. A consistent root-cause process helps manufacturing teams focus resources on changes that address the actual cleaning problem.
Preventing washer performance failures
Common parts-cleaning failures include uneven spray coverage, wash solution overloaded with soil, low solution temperature, and carryover between wash and rinse stages. These conditions can leave residue or moisture on parts, causing defects, rework, or downstream contamination.
Start each failure investigation with a specific production part and inspection result. Compare the defect location with spray access, nozzle condition, and part orientation. A clean exterior with residue inside a recessed feature, for example, points to a coverage issue that a longer cycle may not correct. Verify cleaning on production parts, not just in an empty washer or on a convenient test surface.
Inspect nozzles regularly because blockage or wear can disrupt spray patterns. Check for consistent coverage across the load, then assess whether the arrangement reaches pockets, threads, and internal passages. If one location repeatedly fails inspection, review how parts sit in the basket and whether nearby components obstruct the spray. Correct the coverage problem before extending cycle time.
Wash-solution condition also affects results. As soil accumulates, the solution can lose cleaning effectiveness. Filtration, skimming, tank maintenance, and scheduled solution management help control that risk. A facility should link solution checks to recorded cleaning outcomes. If defects increase as soil load rises, investigate solution condition before changing unrelated production settings.
Carryover creates another failure path. Excess wash solution reaching the rinse stage can undermine rinsing and leave detergent or soil on parts. Effective draining, blow-off, and stage isolation help limit transfer between stages. When spotting or residue appears after rinsing, review how parts drain and whether wash and rinse stages remain separated during operation.
Low wash-solution temperature can reduce washer performance and increase cycle times. Track temperature alongside cycle outcomes, then investigate when inspection results shift. Don’t assume more time will compensate for low temperature, poor spray coverage, or unsuitable chemistry. Each failure mode needs a response that addresses its cause.
Give each employee a clear operating procedure for loading, routine inspection, and reporting abnormal results. Record nozzle issues, solution condition, temperature changes, and recurring defects in the same maintenance and quality records. That evidence helps teams connect equipment conditions with production outcomes and prioritize corrective action. After adjustments, recheck cleaned parts to confirm the washer meets established acceptance criteria.
Use recorded findings to connect a recurring defect with the relevant operating condition, rather than changing several controls at once. Operators can prevent inconsistent spray coverage through engineered spray coverage, regular nozzle inspections, and verification on production parts. Keep coverage observations and inspection outcomes together so changes can be reviewed against the washer’s condition.
To limit transfer between wash and rinse stages, use effective draining, blow-off, and stage-isolation methods. When residue or spotting appears after rinsing, review these controls alongside inspection results. Wash-solution contamination can reduce cleaning effectiveness when the solution is overloaded with soil. Treat solution condition as a possible cause when results shift, and compare it with recorded outcomes before making other operating changes. Consistent checks and clear records help operators address the specific failure rather than rely on a general cycle adjustment.
Temperature, chemistry, and mechanical action
Cleaning results depend on how temperature, chemistry, mechanical action, cycle time, rinsing, and drying work together. Professionals select a process by assessing part geometry, contaminant type, substrate, and the cleanliness requirement for the next operation. A setting that removes oil from an open metal surface may not suit a recessed feature or a different material.
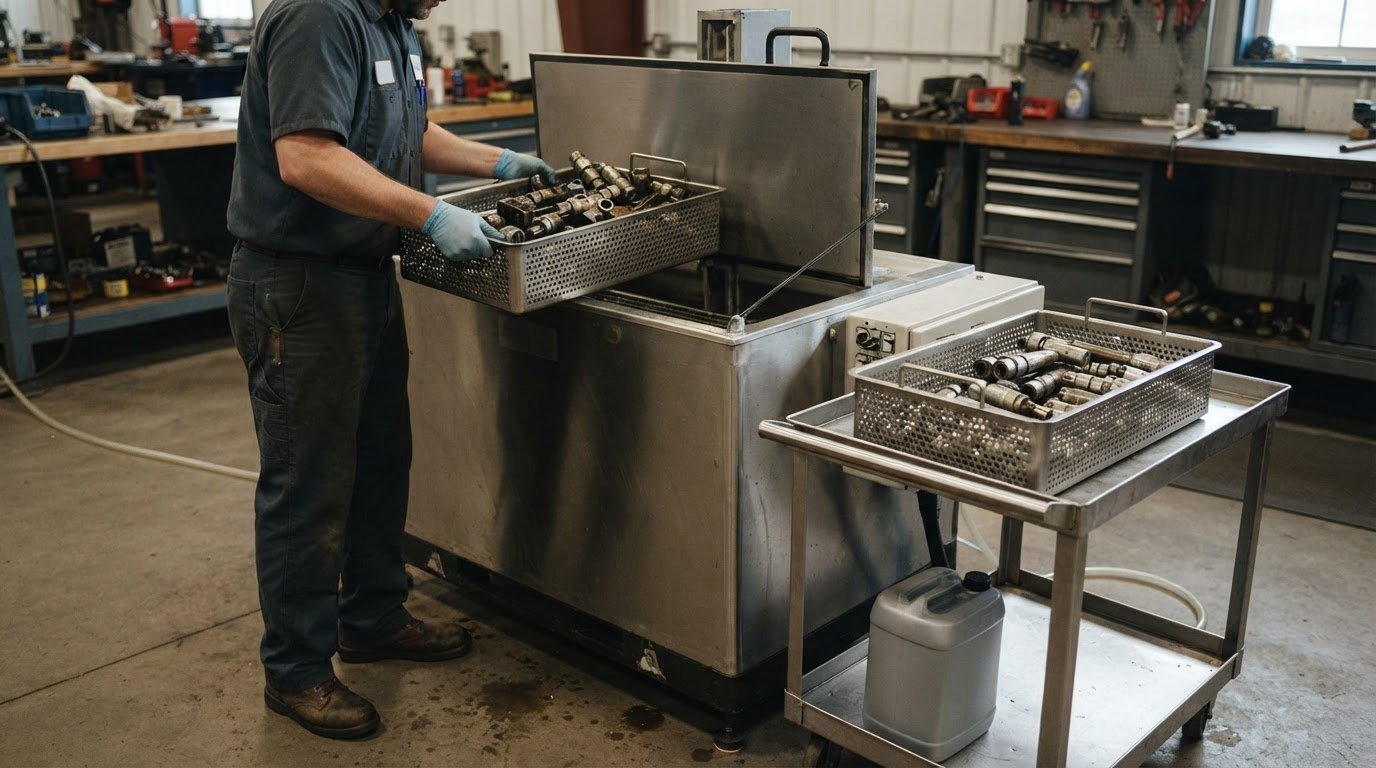
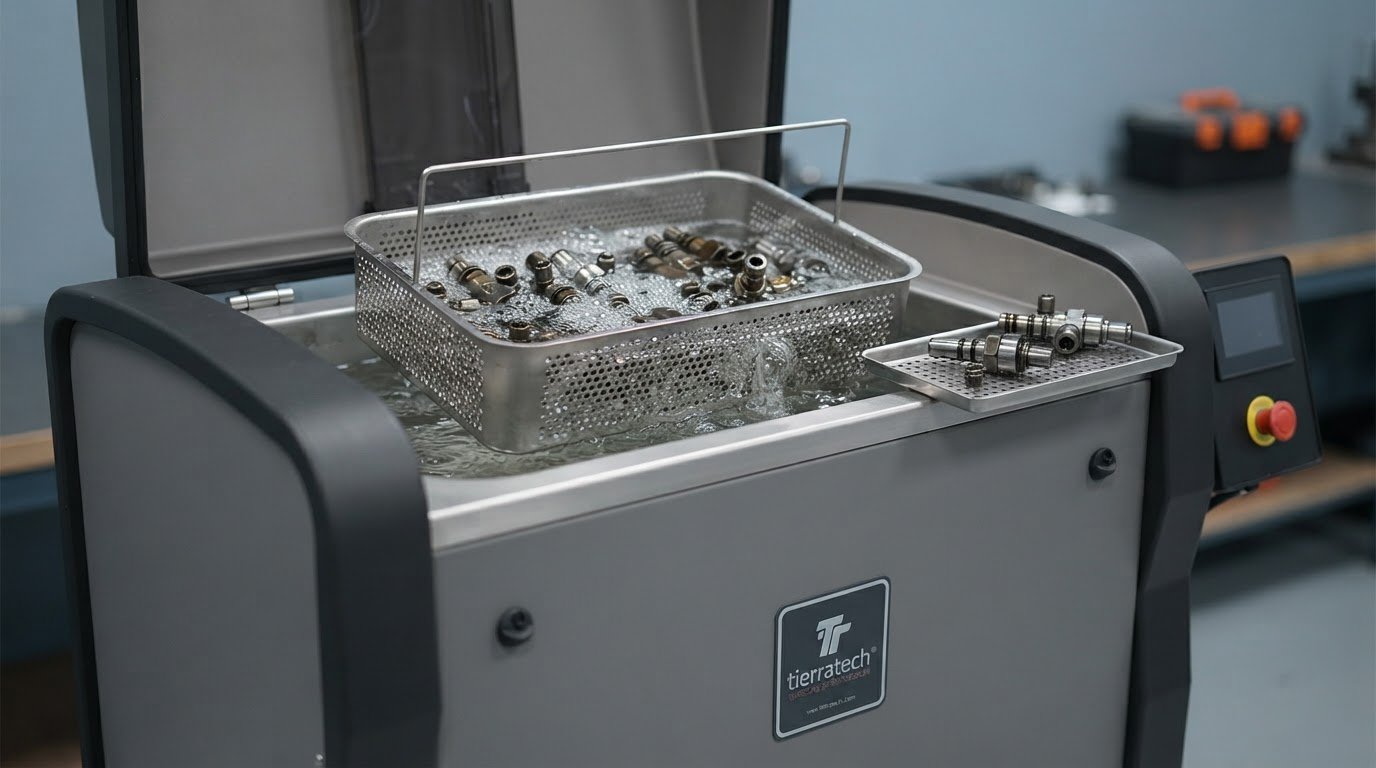
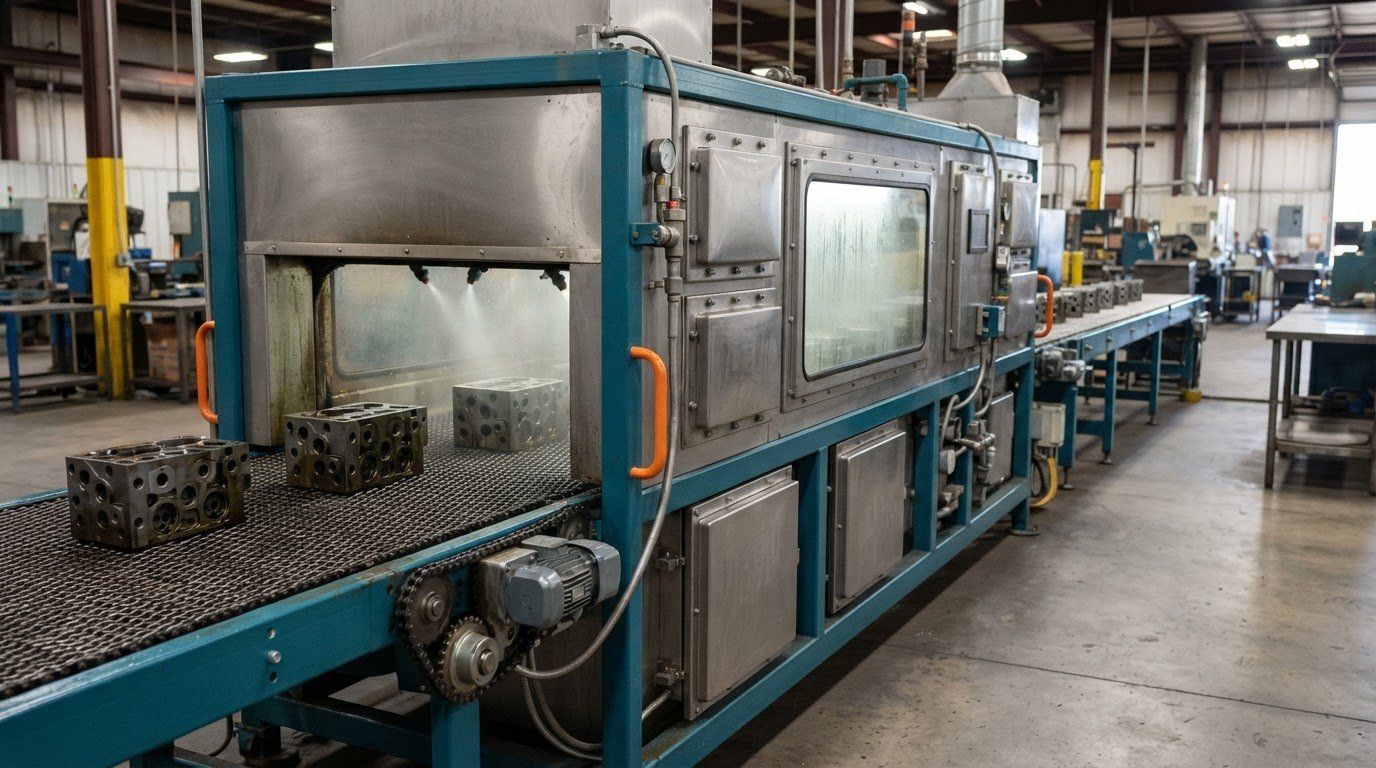
Manufacturing uses several cleaning methods, including aqueous spray washing, immersion, and manual cleaning. Spray washing directs mechanical action across exposed surfaces, while immersion surrounds submerged parts with cleaning solution. Manual methods rely more directly on operator application. Each method has different strengths, so the choice depends on coverage needs, part features, soil, and production requirements.
Temperature changes how soils respond. In aqueous cleaning, heat can reduce contaminant viscosity, loosen soil, and accelerate chemical action. But insufficient or excessive heat can reduce efficiency or damage parts. Professionals consider the substrate, contaminant, and required result when setting operating conditions. For example, a heat-sensitive component calls for different controls than a part carrying viscous soil.
Chemistry must match both the contaminant and the part. Selection and management account for detergent, concentration, pH, and substrate compatibility. Too little detergent may leave soil behind; too much can add cost, create foam, or leave residue. Those outcomes can complicate rinsing and interfere with later production, so operators need clear information about the part material and contaminant.
Mechanical action brings cleaning solution into contact with surfaces and helps dislodge soil. In a spray washer, coverage depends on spray patterns and access to part features. A pocket shielded from the spray may remain dirty even when exposed surfaces look clean. Professionals consider loading orientation, nozzle coverage, and geometry when assessing whether the chosen method reaches critical areas.
Cycle time, rinsing, and drying complete the process. Extending a cycle does not necessarily improve results if spray coverage, chemistry, or temperature is inadequate. Rinsing must remove loosened soil and detergent, while drying must address retained moisture. A balanced process targets the contaminant without creating new problems, such as detergent residue or surface damage.
Process success depends on matching conditions to the component, not maximizing one setting. Cleaning professionals use the part’s substrate, shape, soil, and downstream requirement to select and evaluate methods. They then assess the cleaned production part against its acceptance criteria, adjusting the process when results reveal a specific gap.
Achieving reliable parts cleaning for quality control improvement does not happen through any single parameter alone, but through coordinated control of heat and chemistry: detergent concentration, pH, and substrate compatibility all shape whether cleaning succeeds without residue or damage.
The Global One Group
The Global One Group helps manufacturers address parts-cleaning needs that affect production quality and washer performance. Turn to the team when cleaning results call for a closer look at the process, chemistry, or equipment supporting your acceptance criteria.
Its offerings include industrial parts washers and specialized washing chemistries, along with replacement parts for Magido and Fountain equipment. These options can support manufacturers refining cleaning conditions or addressing equipment needs within those brands. Clear information about the part, contaminant, required cleanliness, and production issue helps focus the discussion on what matters.
For a practical next step, contact The Global One Group to discuss your parts-cleaning requirements.
Make the next quality decision count
Cleaning standards create value when teams use them to guide production decisions. Treat each recurring defect as a signal to examine the process, not as an isolated inconvenience. A focused review can help determine whether the next step should address a cleaning condition, a washer issue, or a mismatch between the acceptance requirement and the part’s actual use.
That discipline keeps quality-control work connected to manufacturing priorities. It also gives production and quality teams a shared basis for discussing results, assigning corrective actions, and deciding whether a change improved the outcome. Use parts cleaning for quality control improvement as an ongoing process of measuring, learning, and refining, rather than a one-time adjustment.
If you’re ready to assess your parts-cleaning needs, contact The Global One Group. Bring the part details, the production requirement, and the quality issue into the conversation. A clear starting point helps focus the next decision and move your process forward with confidence.
Frequently Asked Questions
How does parts cleaning improve manufacturing quality control?
Parts cleaning removes residues that can obscure inspection findings or interfere with later operations. A clean part gives inspectors a clearer view of its surface condition, helping them distinguish a genuine material defect from production contamination. For example, removing loose particles before assembly can reduce the risk of debris affecting fit. Tracking cleaning results alongside inspection outcomes also helps teams identify recurring process problems.
What contaminants should be removed from machined parts before inspection or assembly?
Remove contaminants that could affect inspection, fit, or the next manufacturing step. Common examples include machining oils, loose particles, accumulated soil, and cleaning-chemistry residue. The relevant contaminant depends on the part’s production history and intended use. A threaded component may need attention to particles trapped in its threads, while a part headed for coating may need a surface free of interfering residues.
What cleanliness standards and test methods apply to industrial parts cleaning?
Set cleanliness requirements around the part’s function and downstream process; the appropriate acceptance limit depends on those requirements. Possible evaluation methods include residual contaminant analysis, particle counts, surface-energy checks, water-break-free testing, adhesion results, salt-spray performance, and other analytical tests. These methods assess different properties, so choose one that measures the condition relevant to production. Record the method and pass criteria to support consistent inspection decisions.
What steps do professionals take to implement a parts cleaning quality-control program, and what should manufacturers provide?
Professionals define the cleanliness goal, select an appropriate evaluation method, establish acceptance criteria, and document how results will be reviewed. Manufacturers can support this work by providing part drawings or geometry details, substrate material, known contaminants, and the next operation the part must pass. Include examples of recurring defects and existing inspection results where available. This information helps focus process assessment on actual production needs.