A part can look clean and still carry contamination that leads to rejection. Preventing part rejection due to contamination starts with controlling unwanted particles, residues, and other material that can reach a component during production or handling. The goal is to prevent contamination at its source, not rely on final inspection to catch every issue.
Contamination can enter through the workspace, equipment, materials, or handling, then spread through production. Learn how workspace layout and equipment choices can reduce that risk, why filter tips matter in processes that use them, and how a focused investigation can identify and correct recurring contamination sources.
The practical goal is a cleaner, more controlled process that reduces avoidable rework and rejected parts. This article explains what counts as contamination and how source control can strengthen production quality without adding unnecessary complexity to the shop floor.
Key Takeaways
- Identify contamination risks across production, then match equipment, personnel practices, and consumables to the risks that matter at each point.
- Separate workspaces and keep product moving in a controlled direction to reduce the chance of contaminants spreading between process stages.
- Trace physical contamination to potential sources such as equipment condition, handling, and the production environment.
- Investigate recurring contamination patterns and use the findings to strengthen cleaning, maintenance, and process controls.
- Protect parts during handling, packaging, and storage so contamination controls continue beyond the production line.
How do you choose the right contamination control equipment?
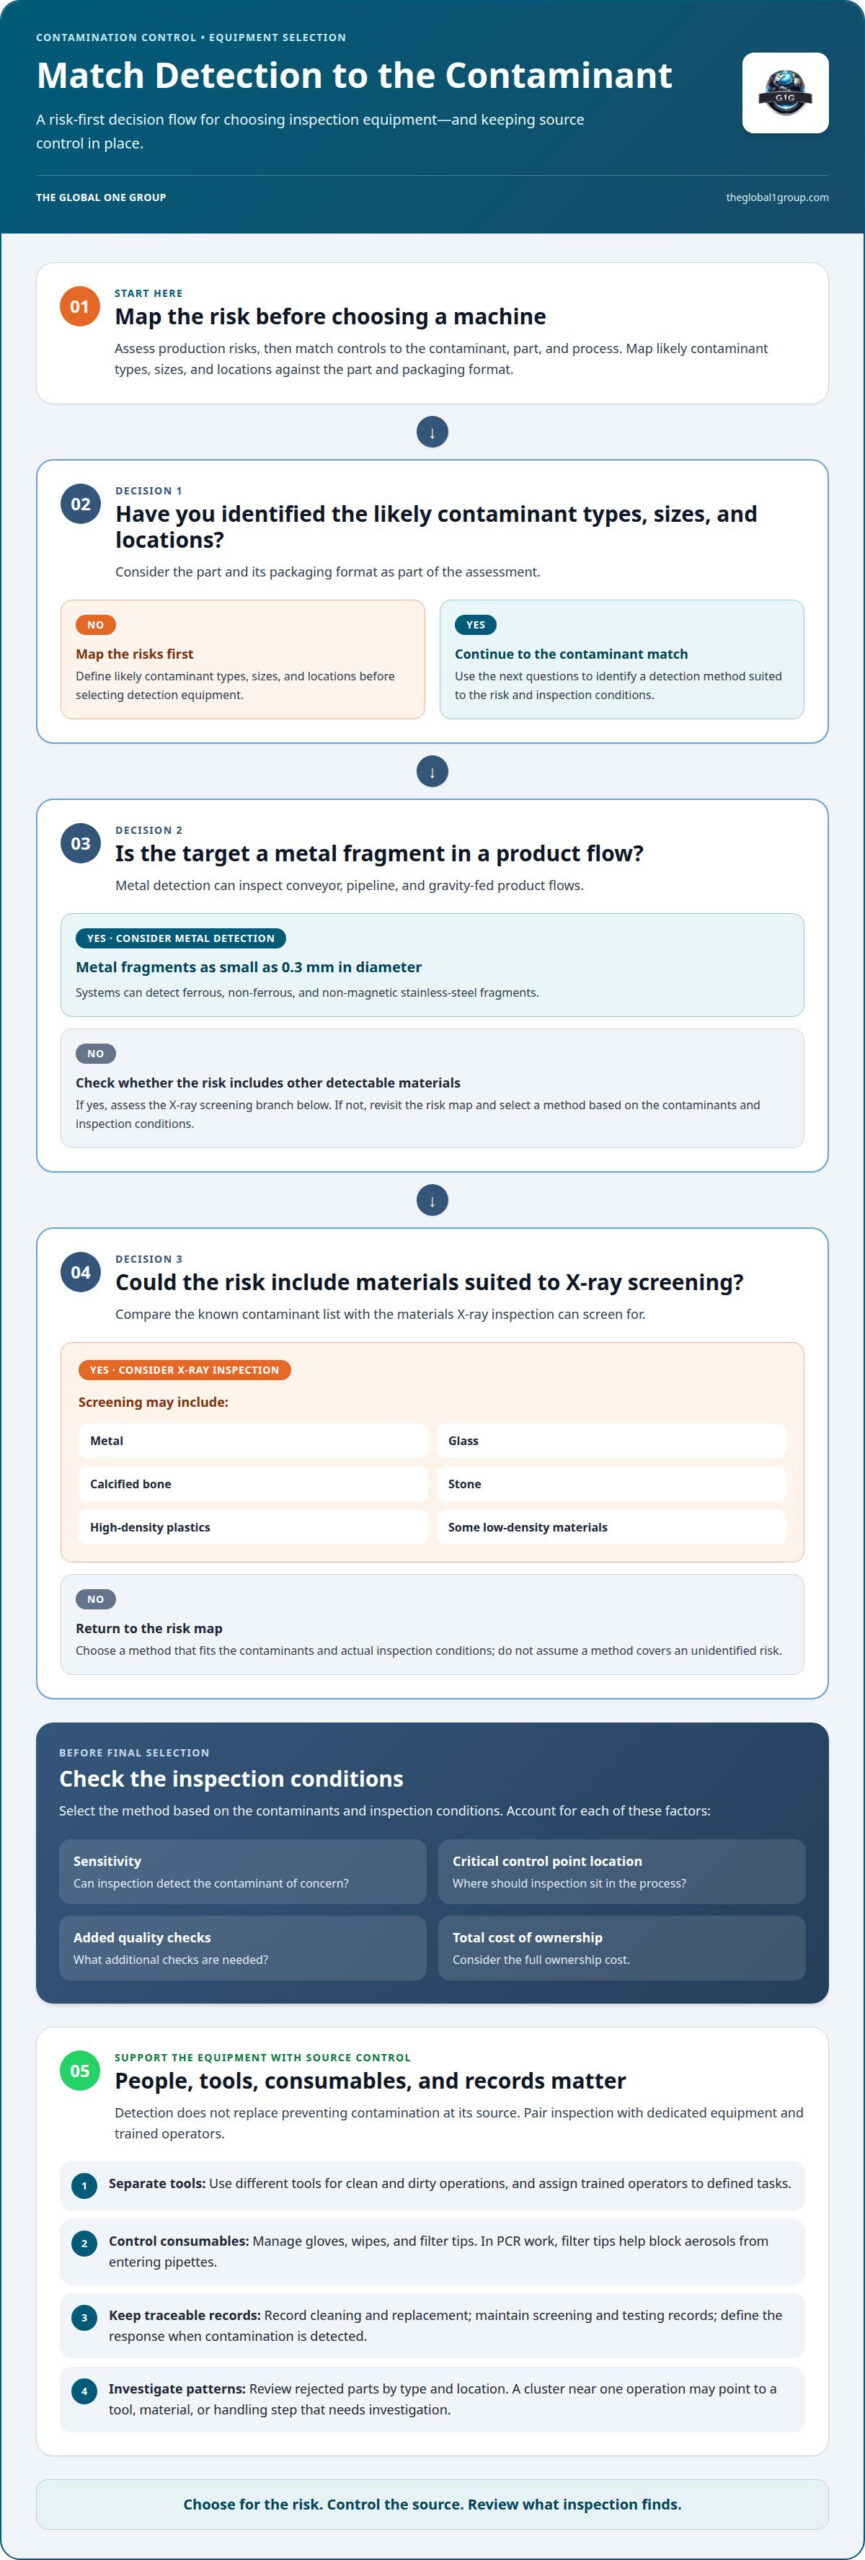
Begin with a risk assessment across production, then match controls to the contaminant, part, and process. Effective control combines trained people, dedicated tools, cleaning practices, and detection methods suited to the materials your inspection process needs to identify.
Dedicated Equipment and Consumables
Dedicated personnel, equipment, and consumables help prevent tools and materials from carrying contamination between process areas. Assign trained operators to defined tasks, separate tools for clean and dirty operations, and control consumables such as gloves, wipes, and filter tips. In PCR work, filter tips help block aerosols from entering pipettes. In parts production, select consumables for the process and protect them until use. Record cleaning and replacement so teams can trace changes when testing reveals a problem.
Choose detection equipment by mapping likely contaminant types, sizes, and locations against the part and packaging format. Metal detection can inspect conveyor, pipeline, and gravity-fed product flows; systems can detect ferrous, non-ferrous, and non-magnetic stainless-steel fragments as small as 0.3 millimeters in diameter. X-ray inspection can screen for metal, glass, calcified bone, stone, high-density plastics, and some low-density materials. Select the method based on the contaminants and inspection conditions, then account for sensitivity, critical control point location, added quality checks, and total cost of ownership.
Detection does not replace source control. Train operators to use equipment correctly, define the response when contamination is detected, and maintain screening and testing records. Review rejected parts by type and location. A cluster near one operation may point to a particular tool, material, or handling step that needs investigation.
Food-contact work areas offer a clear example of separation. Use different cutting boards and equipment for raw meat and ready-to-eat food, then clean and sanitize equipment between uses. Store utensils with handles up to keep hands away from food-contact surfaces. These practices show how dedicated tools and defined storage positions limit transfer between tasks.
Part Handling, Packaging, and Storage
Controlled handling, packaging, and storage protect parts after inspection and between production stages. Keep parts in clean, suitable containers, separate clean parts from incoming material, and minimize unnecessary contact with finished surfaces. For food and nonfood storage, keep items away from walls and at least six inches off the floor. Define how items are placed and sealed so packaging does not become a new contamination source.
Supplier audits should examine the controls behind cleanliness, not just a final inspection result. Review cleaning records, equipment maintenance, consumable handling, staff training, sampling methods, and corrective actions. ISO 14644 may apply when cleanroom conditions form part of the process or customer specification; it does not establish every part’s cleanliness acceptance criteria. Align audit checks with the part’s requirements and the supplier’s documented process.
Separate workspaces and linear workflow
Separate workspaces limit transfer between tasks with different contamination risks. Arrange production so parts move through defined stages, from incoming material to processing, inspection, and protected storage. Keep clean and dirty operations apart, and avoid routes that take finished parts past incoming materials or maintenance work. A clear sequence helps operators see where handling changes and contaminants could enter.
U.S. CGMP rules require manufacturing facilities to be designed to prevent microbial contamination, according to the U.S. Electronic Code of Federal Regulations, § 211.42. Cleanroom practices reduce rejection risk by controlling movement between areas, limiting unnecessary contact, and keeping each process stage within its intended environment. Match workspace controls to the part’s cleanliness needs and the production application.
Laboratories illustrate how physical separation supports a linear workflow. A molecular laboratory should have at least two rooms: a pre-PCR clean room and a post-PCR dirty room. Three or four separate rooms may suit the method. Keep extracted DNA, RNA, and PCR products out of reagent preparation areas. Move work from reagent preparation to sampling, then PCR and viewing, without reversing direction. Personnel performing post-PCR analysis should not return to pre-PCR work areas on the same day.
Food service provides another practical example of separation during handling. Use distinct utensils for ready-to-eat food and raw meat, poultry, or seafood instead of carrying one tool between tasks. For an allergen special order, hand-deliver the item separately from other food. These controls reduce transfer risks during preparation, plating, and service, especially when several orders move through one work area.
Storage layout matters, too. Separate raw ingredients from ready-to-eat foods, and keep items in designated locations rather than combining them on shared shelves or in shared containers. Clear labels and fixed storage positions help workers return materials to the correct zone after handling. The same principle applies to production parts: segregate incoming, in-process, and finished items so a transfer mistake cannot bypass inspection unnoticed.
Build the workflow around the contamination pathways that matter to the process. Mark area boundaries, define permitted movement, and make the clean-to-dirty sequence visible in work instructions. Review the layout when equipment, product flow, or staffing changes. For cleaning-related workflow gaps, explore contamination-control considerations as part of the process review.
Sources of physical contamination during production
Physical contamination includes particles, residues, or fragments that reach a part during manufacturing. Common sources include worn equipment, damaged tools, loose fasteners, packaging debris, and fibers from wipes or clothing. A particle may transfer from a machine surface to a part during contact, or enter through handling and storage. Map each source to the production step where it could reach a critical surface.
Regular cleaning and maintenance of production equipment help prevent foreign-material contamination and cross-contamination. Inspect contact surfaces, joints, guards, and workholding areas for debris, wear, or residue. Remove the source, not just the contamination on the affected part. For example, recurring fragments near a worn component call for equipment inspection and corrective maintenance. Cleaning removes soil and particles, but a damaged component can introduce them again immediately.
Materials and people create other contamination routes. Incoming stock may carry residue, while packaging can shed fragments as operators open or move it. Gloves, wipes, and tools can transfer material between parts when reused across tasks. Identify where these transfers occur, then control the specific route with protected materials, task-specific tools, or revised handling. The right control depends on the contaminant, the part’s surface, and the operation’s contact points.
PCR work shows how contamination can come from sources that are not visible. Aerosols can carry DNA between samples, while contaminated reagents or work surfaces can introduce unwanted material. Use filter tips to limit aerosol entry into pipettes, divide reagents into single-use amounts, and decontaminate potential sources of contaminant cells or DNA. Include controls in testing so unexpected results can help distinguish a sample issue from contamination introduced during preparation.
Acceptable cleanliness limits depend on the industry, part function, material, and customer specification. A component for a sensitive application may need tighter particle or residue controls than a part without critical cleanliness requirements. Define acceptance criteria before production, including which contaminants matter and how testing will measure them. Without a clear target, inspection may identify debris but cannot consistently determine whether a part meets its intended use.
Trace a rejection back through the process instead of treating each affected part as an isolated failure. Record the contaminant type, its location, the operation, and recent equipment or material changes. Compare repeated findings across shifts and production stages. If debris appears after a particular handling step, inspect its tools, surfaces, and packaging. This evidence helps eliminate the cause, remove affected material from the process, and focus corrective action where it can prevent recurrence.
Contamination investigation and remediation
A rejection confirms a failed result, not its cause. Begin the investigation by recording the contaminant, affected part surface, production step, and time of detection. Compare those details across rejected parts and shifts. If similar particles appear after one operation, inspect its equipment, contact surfaces, materials, and handling before changing the entire process.
Contain the issue while the team investigates. Separate affected parts from accepted product, then examine the line for visible debris, residue, damaged components, or gaps in cleaning. In a clean-in-place process, inline samples from relevant points can show how bacterial counts change through sanitation. Visual inspection and ATP swabbing provide further evidence, while record reviews can reveal missed cleaning steps or inconsistent chemical use.
Correct the source, not just the rejected part. Cleaning can help remove soil and allow sanitizer to contact contaminating microorganisms. Food residues and allergens can remain within soil, so sanitation requires both cleaning and sanitizing. Confirm that the cleaner and sanitizer match the process, and review application records alongside inspection findings. A positive laboratory wipe test indicates environmental contamination and calls for a focused assessment of nearby surfaces and practices.
Use measurements to determine whether a correction works. Monitor critical contamination-control parameters and compare results before and after remediation. For a sanitation process, inline sampling can show whether bacterial counts fall at the expected stages. Combine those results with visual inspection, ATP swabs, record reviews, and checks of cleaner and sanitizer use. Consistent verification makes recurring failures easier to distinguish from isolated findings.
Laboratory incidents require a controlled response. PCR work surfaces should be disinfected with 10% bleach after contamination, and suspected reagents, including master mixes, primer mixes, and buffers, should be discarded. Replace opened tip boxes and tube bags with fresh, uncontaminated tips. Track each incident and response. Repeated events can reveal a systematic practice or mistake that a one-time surface cleaning would miss.
Document the investigation from detection through correction. Record the affected process, evidence collected, source identified, action taken, and verification result. If a change reduces contamination in one area but another sample remains positive, continue tracing the pathway instead of declaring the cause resolved. This record helps teams focus on controls that address the actual source and correct the process before the same defect recurs.
Close the investigation only when follow-up testing supports the corrective action and the process remains within its defined cleanliness criteria. Compare results across relevant production points, not just at final inspection. If rejection patterns return, reopen the investigation and assess changes in equipment condition, materials, cleaning, and handling. This discipline turns each contamination event into useful process evidence.
How should parts be handled, packaged, and stored to prevent contamination?
Protect each part after cleaning, inspection, and every transfer between process stages. Where the design allows, handle a finished component by designated gripping points rather than touching a critical surface unnecessarily. Keep accepted parts separate from incoming stock and rejected items. Marked containers for each status help prevent usable parts from being mixed with material awaiting inspection or rework.
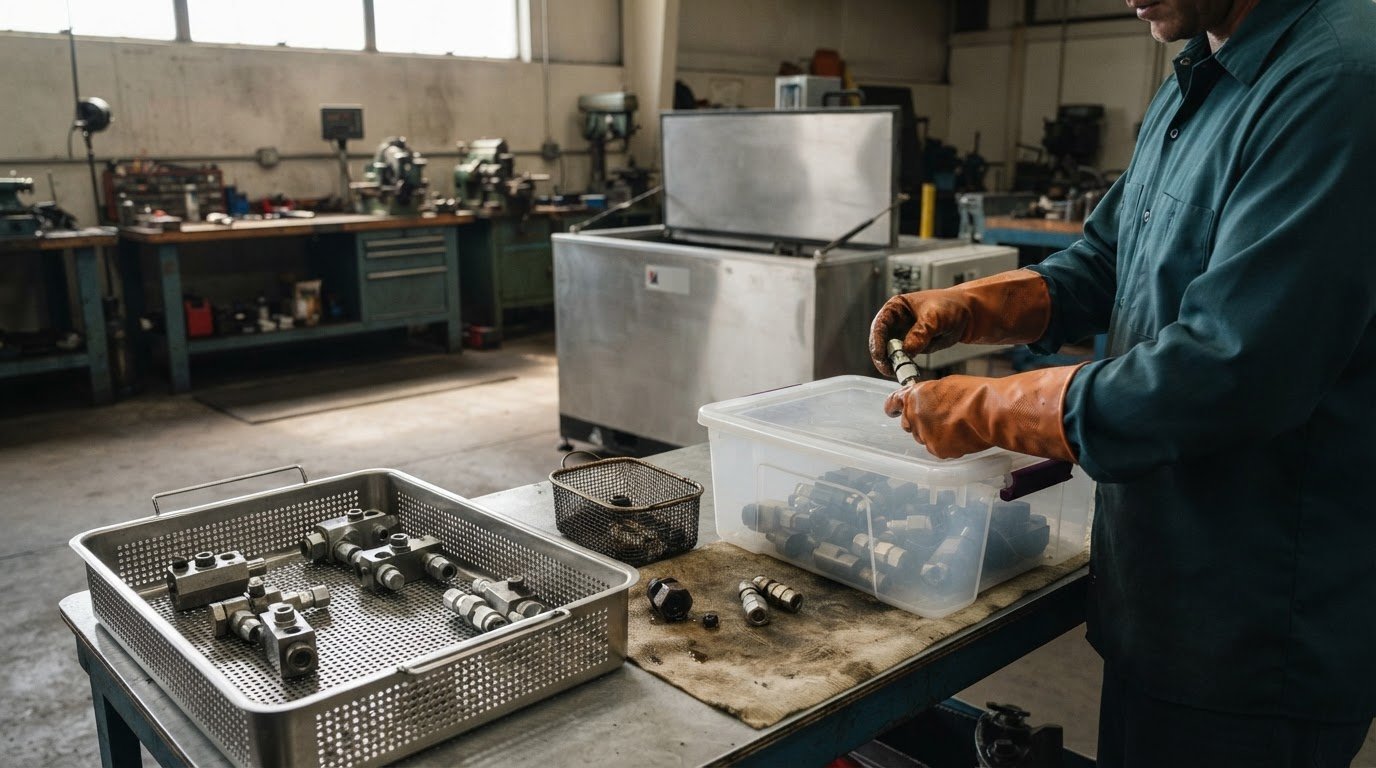
Set a consistent handoff method between operators. Before moving a part, check that the receiving tray or container is clean and suitable for the component. Avoid placing machined surfaces directly on workbenches, cardboard, or packaging debris. When a part changes hands, keep it in its protective container or use a defined transfer tray. These simple controls reduce contact with surfaces that may carry residue or loose particles.
Choose packaging that protects critical surfaces during movement and storage. Close or cover containers after loading, and keep clean packaging separate from used packaging. Open only the package needed for the current production batch, then reseal the remaining parts. For parts that require individual protection, use a suitable divider or wrap to prevent contact between components. Match the packaging method to the part’s material, geometry, cleanliness requirements, and next process.
Organize storage by part status and use. Keep incoming, in-process, accepted, and rejected parts in designated locations with clear labels. Store containers away from walls and at least six inches off the floor. BRCGS identifies foreign-body contamination prevention under sections 4.9 and 4.10 as a core expectation for manufacturers. A fixed storage layout supports that control by making spills, misplaced containers, and packaging damage easier to spot.
During dispatch, confirm that the correct part and its protective packaging stay together. Keep lids closed during internal transport, and avoid stacking loads in ways that crush packaging or expose parts. If a container is damaged, isolate its contents for inspection before returning them to production. Record the affected batch and storage location so teams can trace later contamination to a specific transfer or handling point.
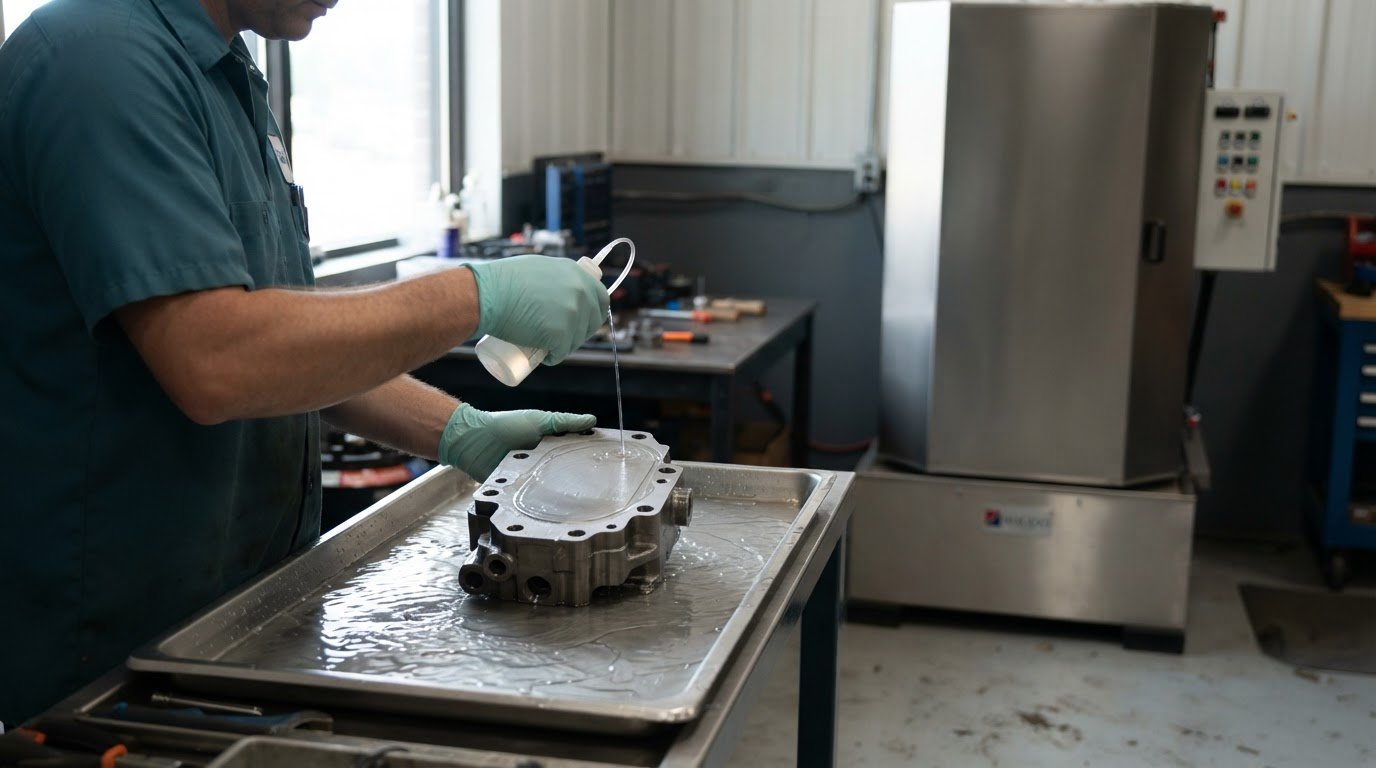
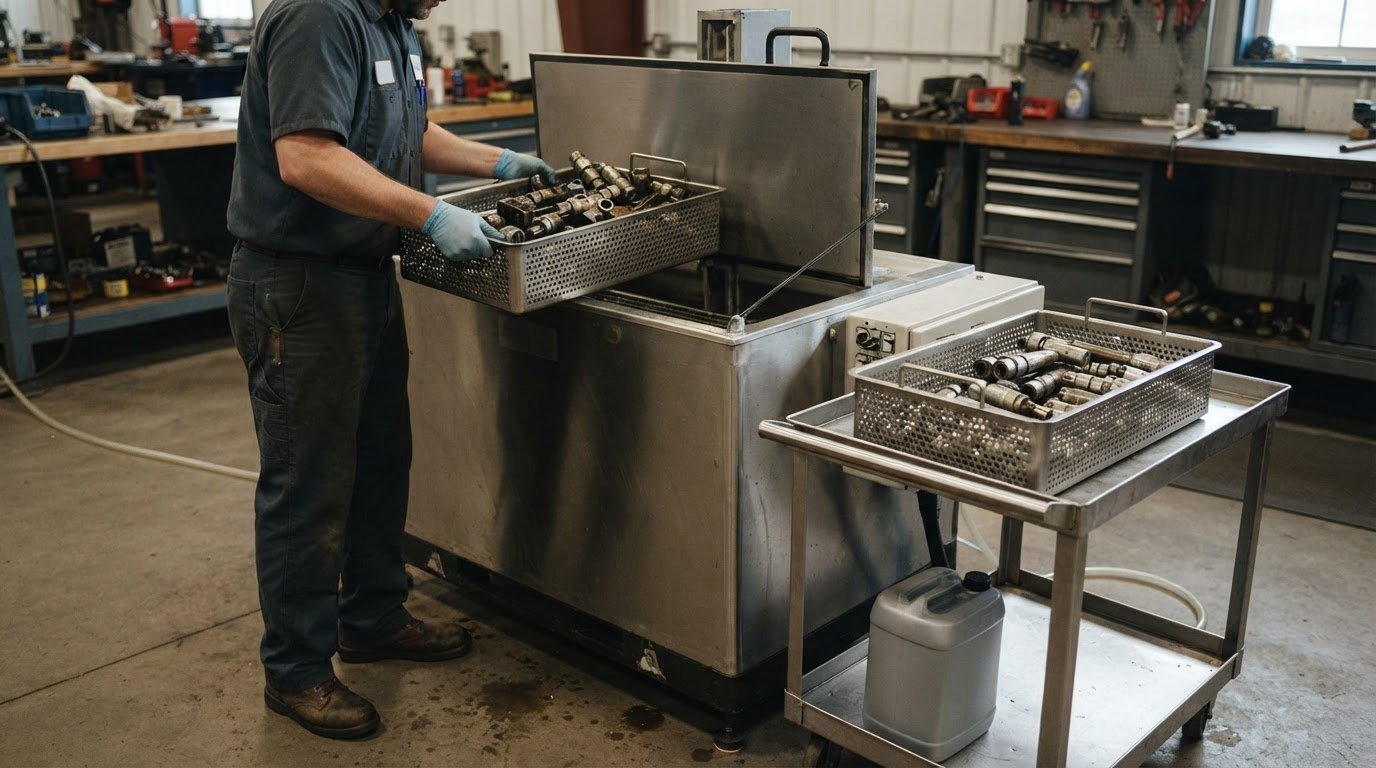
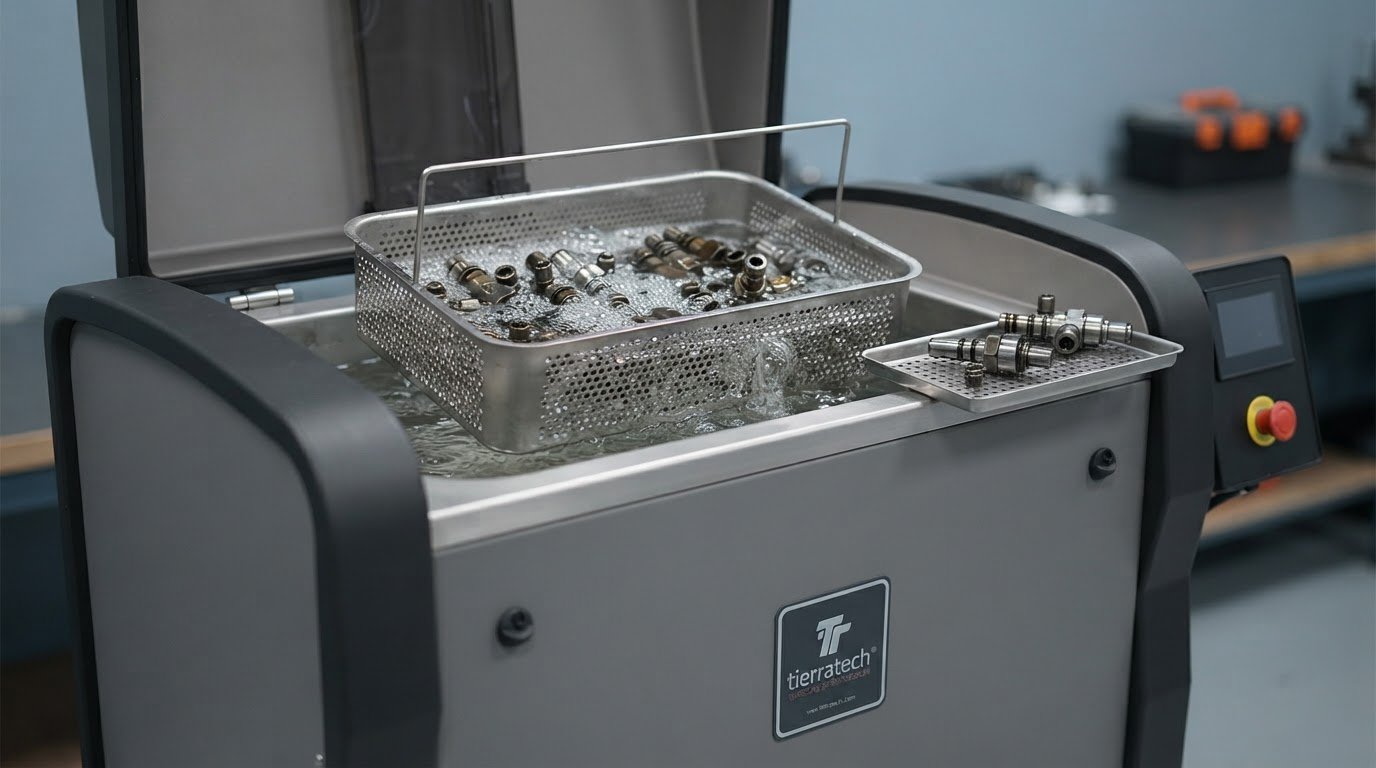
Align handling controls with the cleaning process. A clean part can pick up residue again if it enters a dirty container or contacts an unclean surface. Keep the post-wash route protected, and make packaging changes part of the process review when rejection patterns point to handling or storage. For support with parts washing and process chemistry, discuss parts washing options.
The Global One Group
The Global One Group supplies industrial parts washers, parts washing chemistries, and replacement parts for Magido and Fountain equipment. Its washers and chemistries can support cleaning requirements when residue or soil contributes to rejection. When washer maintenance or replacement parts are part of the issue, the company also supplies the parts needed for these systems. The right next step depends on the contamination source, the part, and the cleaning process. Describe the production challenge and equipment involved to focus the discussion on relevant washing equipment, chemistry, or replacement parts, rather than controls that do not address the cause.
Contact The Global One Group to discuss your parts-cleaning needs.
Make contamination control part of the operating plan
Make contamination findings a routine management priority, not just a response to rejected batches. Assign responsibility for reviewing recurring issues, and connect process changes to the cleanliness criteria each part must meet. When production conditions shift, reassess whether existing controls still address the actual risk. This discipline keeps quality decisions evidence-based and directs improvement efforts where they matter.
Start by identifying the unresolved cleaning or equipment issue causing the greatest disruption. Addressing that priority can make preventing part rejection due to contamination a sustained operating objective rather than a one-time corrective action. Keep the plan focused, record decisions, and use the results to guide the next adjustment.
For a discussion about your parts-cleaning needs, contact The Global One Group. Put the next improvement in motion with a clear priority and a process built to support cleaner parts.
Frequently Asked Questions
What counts as contamination?
Contamination is unwanted material or residue that affects a part’s required condition or performance. It may include metal fragments, dust, fibers, oil, cleaning residue, or biological material. A substance can count as contamination even when it is difficult to see, particularly if it interferes with a coating, seal, electrical contact, or assembly fit. The part’s intended use and cleanliness acceptance criteria determine which contaminants matter.
What causes contamination in manufacturing, beyond poor hygiene?
Equipment wear, incoming material, packaging, maintenance work, and process fluids can all introduce contamination. For example, a damaged fixture may leave particles on a component, while residue from an earlier operation may carry into assembly. Handling is only one possible route. A useful investigation traces the defect backward through materials, equipment condition, process transitions, and packaging to find where the contaminant entered.
What is contamination prevention in manufacturing, and why does it matter?
Contamination prevention means designing process controls to keep unwanted material from reaching parts, rather than relying only on final inspection. It matters because a contaminant can compromise a component’s fit, finish, or function and lead to rejection or rework. Preventing part rejection due to contamination starts by defining cleanliness requirements for the application, then linking those criteria to production controls and inspection methods.
Which industries rely most on contamination prevention systems?
Industries with demanding component-cleanliness needs include aerospace, automotive, food, mechanical production, military applications, remanufacturing, and shipping. Requirements vary: residue affecting a coating process creates a different risk from debris that interferes with a moving assembly. Apply controls according to the part’s function and production requirements, rather than assuming one cleanliness approach fits every sector or component.
What are common causes of contamination-related part rejection in manufacturing?
Common causes include oil or process-fluid residue, particles left after machining, debris from worn equipment, and contamination introduced during packaging or assembly. A part may also be rejected for failing its defined cleanliness criteria, even when the material does not visibly affect function. Review rejected parts by contaminant type and affected surface to distinguish a cleaning issue from a process or material source.
How can manufacturers prevent contamination during production and assembly?
Build controls into each operation: protect exposed surfaces, use clean fixtures, and define how parts move between machining, cleaning, inspection, and assembly. Match cleaning steps to the contaminant and material, then prevent cleaned parts from contacting dirty tools or containers. At assembly, make work instructions clear about contact points and part orientation so operators avoid transferring residue onto functional surfaces.
What cleaning methods remove oils, particles, and residues from parts?
Industrial parts washing removes contaminants through a cleaning process suited to the part and residue. The appropriate equipment and chemistry depend on factors such as the contaminant, component material, geometry, and required cleanliness. Parts washing chemistries address different cleaning needs, while water-based options offer an alternative to solvent-based fluids. Evaluate the cleaned part against its acceptance criteria before returning it to production.
How can manufacturers measure and inspect parts for surface contamination?
Choose an inspection method that matches the contaminant and cleanliness requirement. Visual inspection can identify obvious debris or residue, while sampling and suitable surface tests can assess contamination that is not visible. Set acceptance criteria before testing, including the surface or area assessed and the result that triggers rejection. Consistent sampling locations and recorded results make it easier to compare production batches and investigate changes.